A follow up to my post about putting the sink in place. We now have running water, at a kitchen sink! I want to take some time and share with you what and how I did it. There is still another step, I think, I might post about the drain. I hope you enjoy my perspective today!


With the sink firmly in place it is time to get the faucet in. This is done in several steps. I need to get the sink cleaned where the faucet goes. I need to connect supply lines. I need to install shut off valves on the hot and cold sides. I need to connect the supply lines. That covers all of the in water. For the out water I need to install new baskets and under sink drain lines.
Faucet
We had purchased a Peerless three hole faucet. Nothing too fancy. We wanted something that would be very functional and good looking. We needed a basic hot and cold and really needed to do dishes standing up right...at a sink.🙃

Supply Lines
I used 1/2" to a 3/8" supply line. This is a very common size. I chose to use a 12" piece, I don't have too far to go. These lines are going to connect directly to the shut off valves.

Shut Off Valves
The valves I chose were shark bite push in fittings. These have one end that are a 3/8" threaded end so you screw the supply line directly to this. The other end is a 1/2" push in shark bite. The supply line will push directly into this, and we will have instant water. For those of you thay have not tried PEX pipe and shark bite fittings, I highly recommend it. It allows for instant water...and you quickly know if you did it wrong.

Water Supply
I don't have a picture for this part though. When I plumbed the hot water heater in I added two stubs, a hot and a cold. I cut these and added 1/2" shark bite couplings. I push in my pex pipe, and then pushed the pipe into the end of the shut off valve.
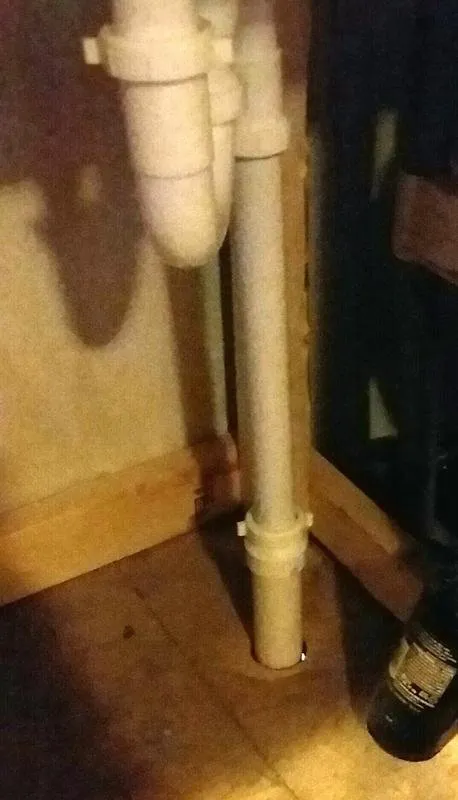
Under the Sink
Under the sink I used a drain kit. I had to cut just a 1/2" off of the lateral drain pipe to fit properly. I first had to attach the lateral piece to the left sink basket. This piece has a built in 90° that curves the pipe toward the second drain. For the right drain there is a piece that attaches to the drain basket and has a place to attach the lateral piece. At the bottom of the right drain piece I attach another drain kit. This kit is for the trap and then through the floor. In all of our building confusion I had miss placed my hole saw, so 

The Tools
For this install I needed just a few tools. A hole saw and drill. A sharp knife. A pair of channel lock pliers and a pink crescent wrench....yeah pink is gang related...atleast that makes me feel better about using it. 🙃
I hope you enjoyed this part of the build and my bit if perspective. Be well!


