Complacency is the enemy when sewing, and I was very strongly reminded of that this week as I entered the home stretch of making this shooting star baby quilt!
First, I quilted together the "sandwich" of quilt top, fleece (which I like to use instead of official batting) and backing fabric. I used gold metallic thread to stitch a sweeping curved line from each appliquéd star, to make them look like they're flying across the quilt.
Quilting in progress. I haven't quite decided whether quilting or binding is my least favorite part, haha! All photos are my own.

Closer up.

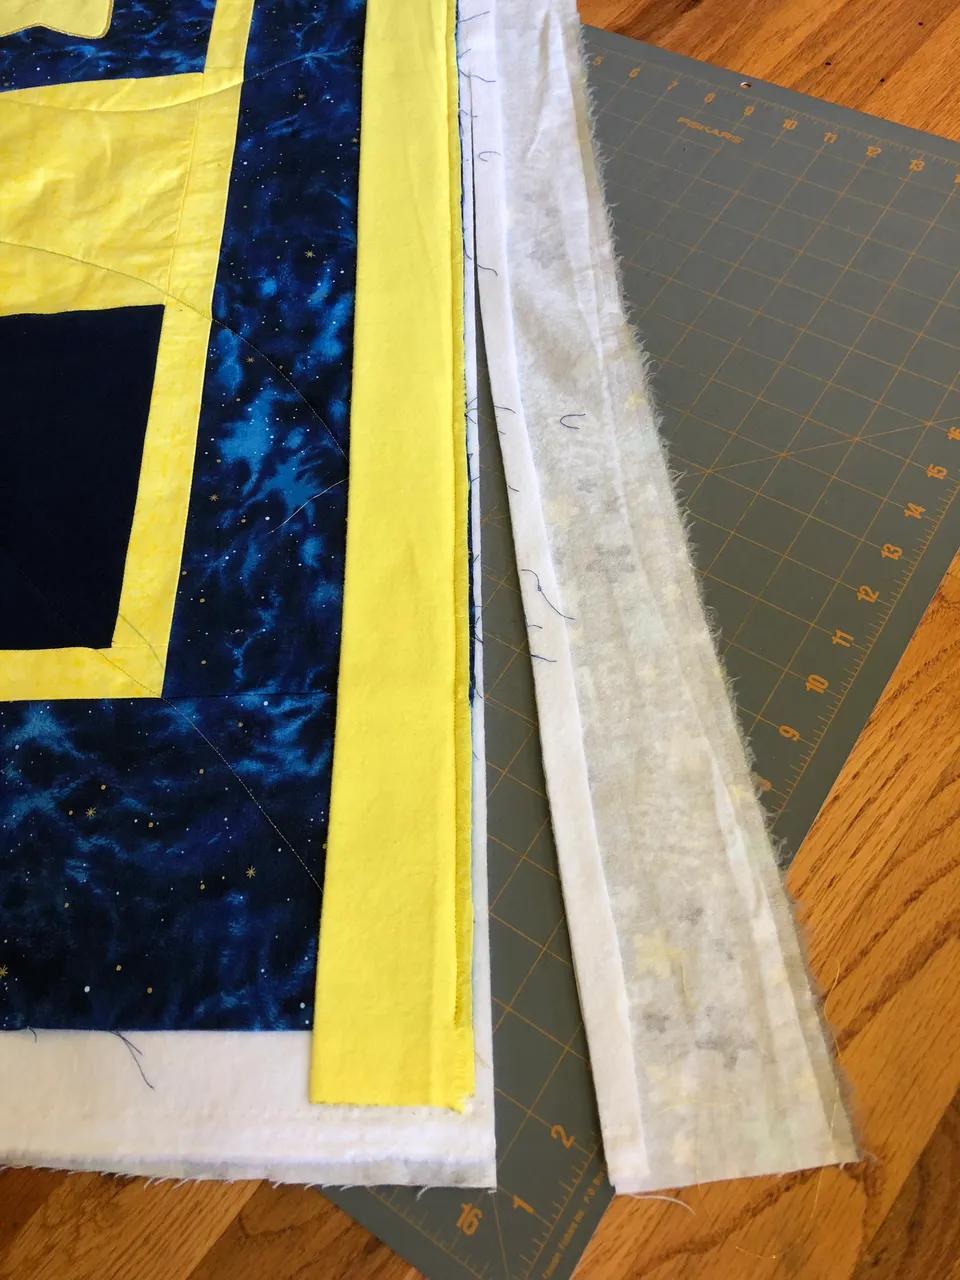
Then I cut binding strips from bright yellow flannel, because I like a cozy fuzzy edge on baby quilts. Normally, I do basic 1/2" binding on quilts, but on this particular design I increased that to 1" binding. I folded the binding strips in half and ironed them, to make them double; then I began sewing them onto the front of the quilt. Because I was doing double lapped binding (unlike 
I finished sewing the first binding strip on one of the lengthwise edges, then got my rotary cutter and mat to trim the binding and backing to the right size. Disaster struck!! Remember what I said about complacency? Without thinking, I automatically began trimming the edge as if I was doing the usual 1/2" binding.
NOOOOOO!!!!!
On a positive note, at least I didn't chop the entire edge off before it dawned on me with horror that I'd screwed up so mightily.
Now what? Get out a needle and thread, and hand stitch the layers carefully back together, that's what.
This isn't too bad, right?

Wrong!

Well, I could either scream in rage and exasperation at myself, or I could go eat something. The latter option was more attractive since it was past lunchtime--and the fridge had all kinds of delicious things that needed to be used up. Leftover grilled chicken from the night before, leftover bacon from breakfast, half an avocado....
It all added up to a tasty salad indeed.

And because I was still figuratively licking my wounds over my OOPS, I pulled out the big guns as the finishing touch: FULL FAT RANCH. Low-fat vinaigrette was not going to cut it this time.
Anyone else hungry?

Later, I tackled the binding again. What I do is:
- Sew the binding to the quilt top side
- Trim the batting and backing
- Wrap the binding around the raw edges to the quilt back
- Pin the binding on the back, so that the edge of the binding covers up the line of stitches created when I sewed it to the front
- Sew on the front of the quilt, using the "stitch in the ditch" method right along the edge of the binding, so the stitches don't show.
This creates a super neat finish on the front of the quilt; a drawback is that you lose some control over the neatness on the back.
Pinning the back. I just love this flannel print, too!

My OOPS repairs. Luckily, wrapping the binding around over the stitching line above/to the left of it, means it's completely covered up.

Progress! The third side!

At this point I was listening to 3 Doors Down and was into a groove with the music, contemplating the deep issues of Life and all that. Now, small children have specialized radar for Mommies Who Are Thinking, and mine are no exception. They decided that they ought to join forces with my 3 Doors Down playlist to put on a rip roaring concert, and brought every musical toy they own into the sewing room: two xylophones, a keyboard, a triangle, and a harmonica....

Contemplation and zen flew out the window, and laughter took its place as Little Man directly competed with 3DD by banging the xylophone and belting out "Let It Go" and Pixie accompanied him alternately with the harmonica and triangle. It was quite the deafening din, and even more hilarious!
"Let it go, let it go!" was actually rather appropriate!

Ooh, a duet!!

Well, I certainly did "let it go" and now have a completed baby quilt ready to mail tomorrow :) Happy #needleworkmonday everyone!
