¡Saludos Comunidad Creativa! | ¡Greetings Creative Community!
¡Feliz Día para todos! Debido a que se acerca San Valentín me he dedicado a trabajar en manualidades y detalles para este día, así que para hoy les traigo una nueva creación, la cual es una hermosa cajita dulcero decorado con corazones, ideal para obsequiar a esa persona especial, es muy fácil de hacer y les aseguro que es un hermoso detalle que a todos les encantará, acá les comparto el paso a paso, espero que esta idea les pueda ser útil.
¡Happy day for everyone! Because Valentine's Day is approaching, I have dedicated myself to working on crafts and details for this day, so for today I bring you a new creation, which is a beautiful candy box decorated with hearts, ideal to give to that special person, it is very easy to do and I assure you that it is a beautiful detail that everyone will love, here I share the step by step, I hope this idea can be useful to you.


Materiales | Materials
❤ Cartulina corrugada metalizada dorada.
❤ Hoja de papel.
❤ Foami escarchado rojo.
❤ Papel de seda rojo y con estampado de corazones.
❤ Dulces.
❤ Lápiz.
❤ Tijera.
❤ Silicón caliente.
❤ Regla.
❤ Gold metallic corrugated cardstock.
❤ Sheet of paper.
❤ Red frosted foami.
❤ Red tissue paper with heart print.
❤ Sweets.
❤ Pencil.
❤ Scissor.
❤ Hot silicone.
❤ Rule.

Procedimiento ✂ | Process ✂
❤ PASO 1. En la hoja de papel haremos el molde de la cajita, luego lo transferimos a la cartulina corrugada dorada y recortamos.
❤ STEP 1. On the sheet of paper we will make the mold of the box, then we transfer it to the gold corrugated cardboard and cut it out.


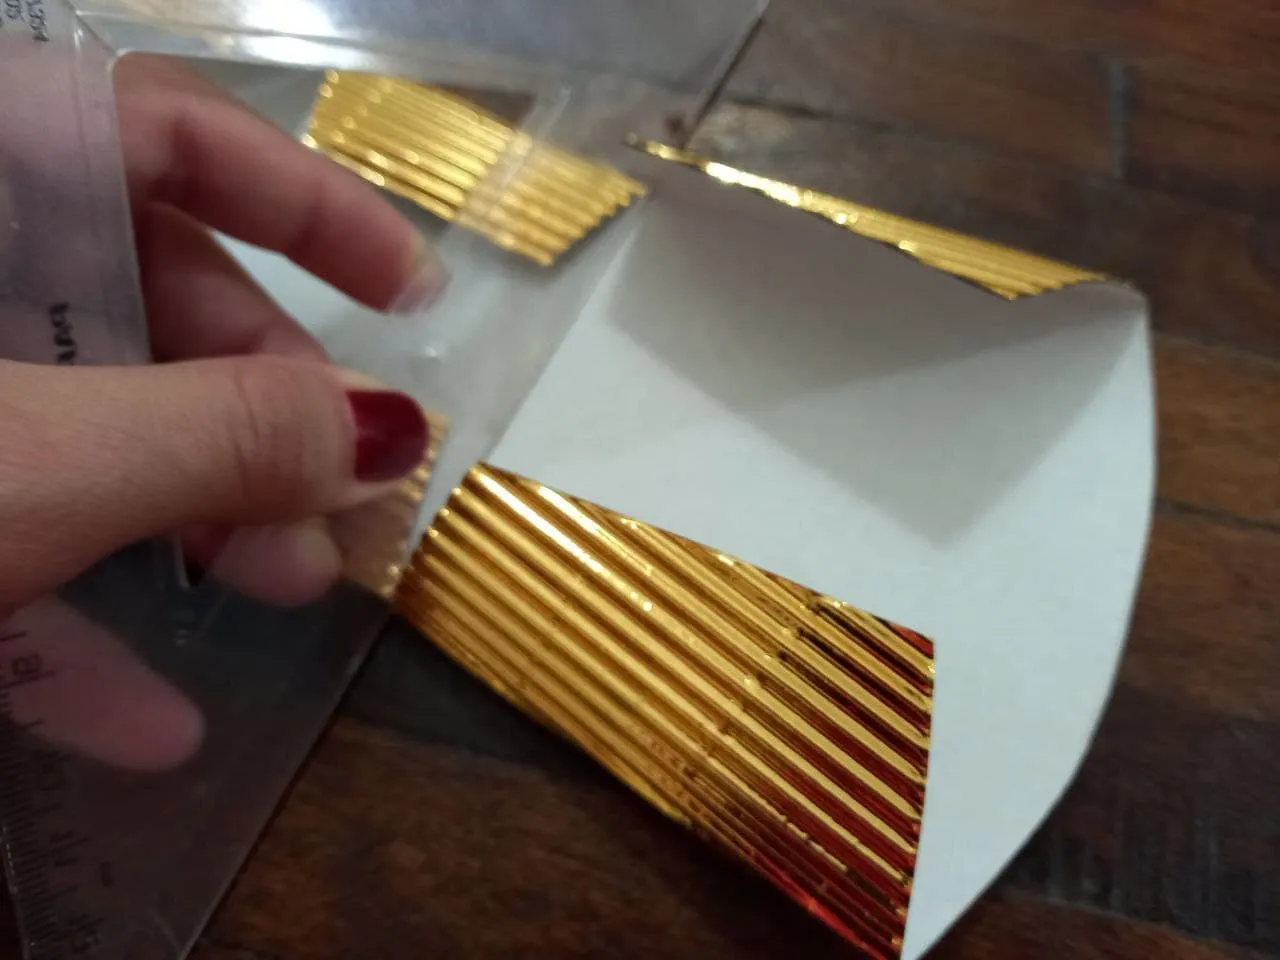
❤ PASO 2. Con ayuda de la regla hacemos los dobleces de la cajita, primero los de los lados y luego los 2 del centro.
❤ STEP 2. With the help of the ruler we make the folds of the box, first the ones on the sides and then the 2 in the center.


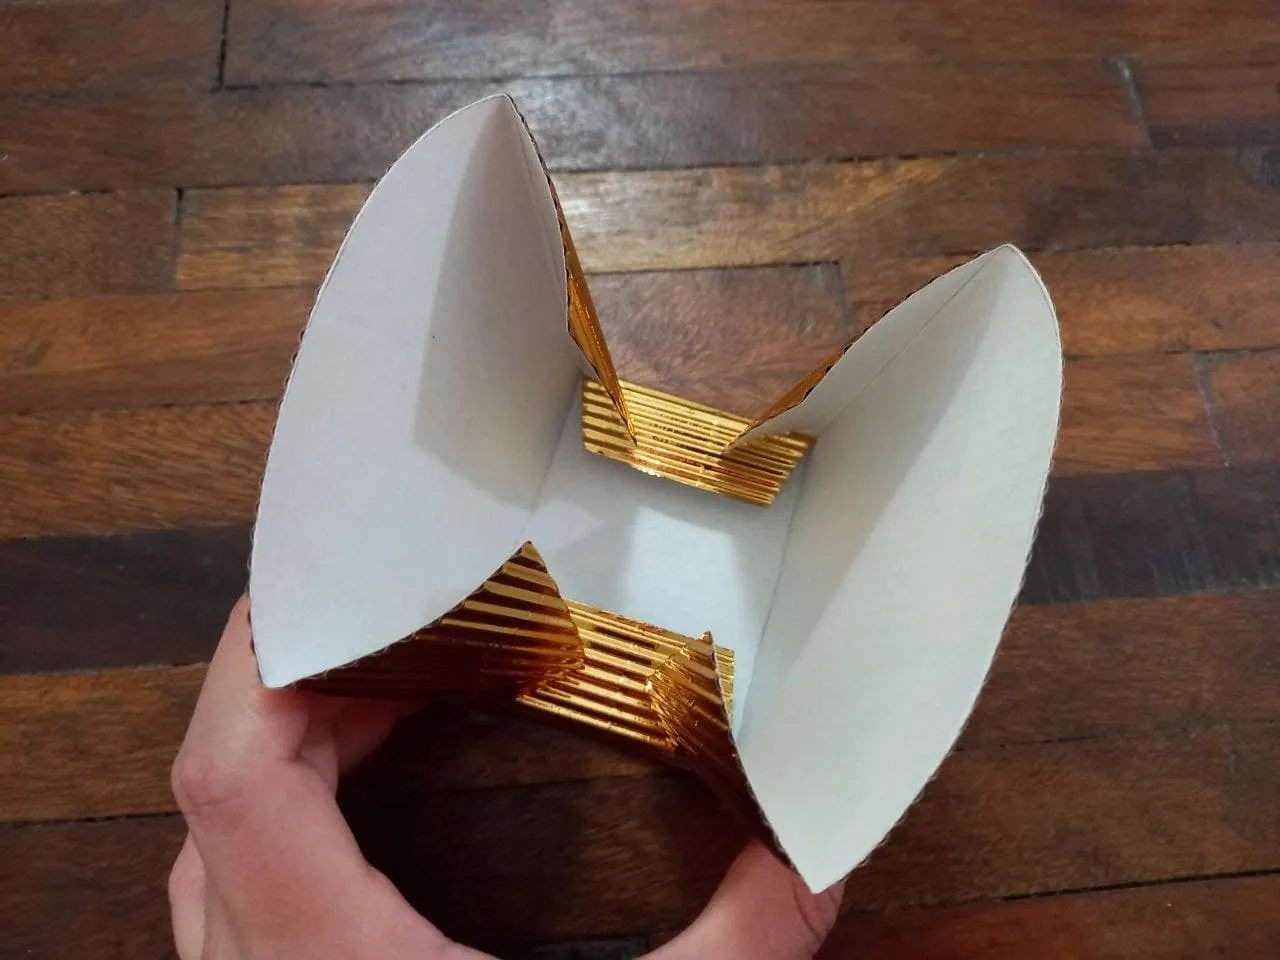
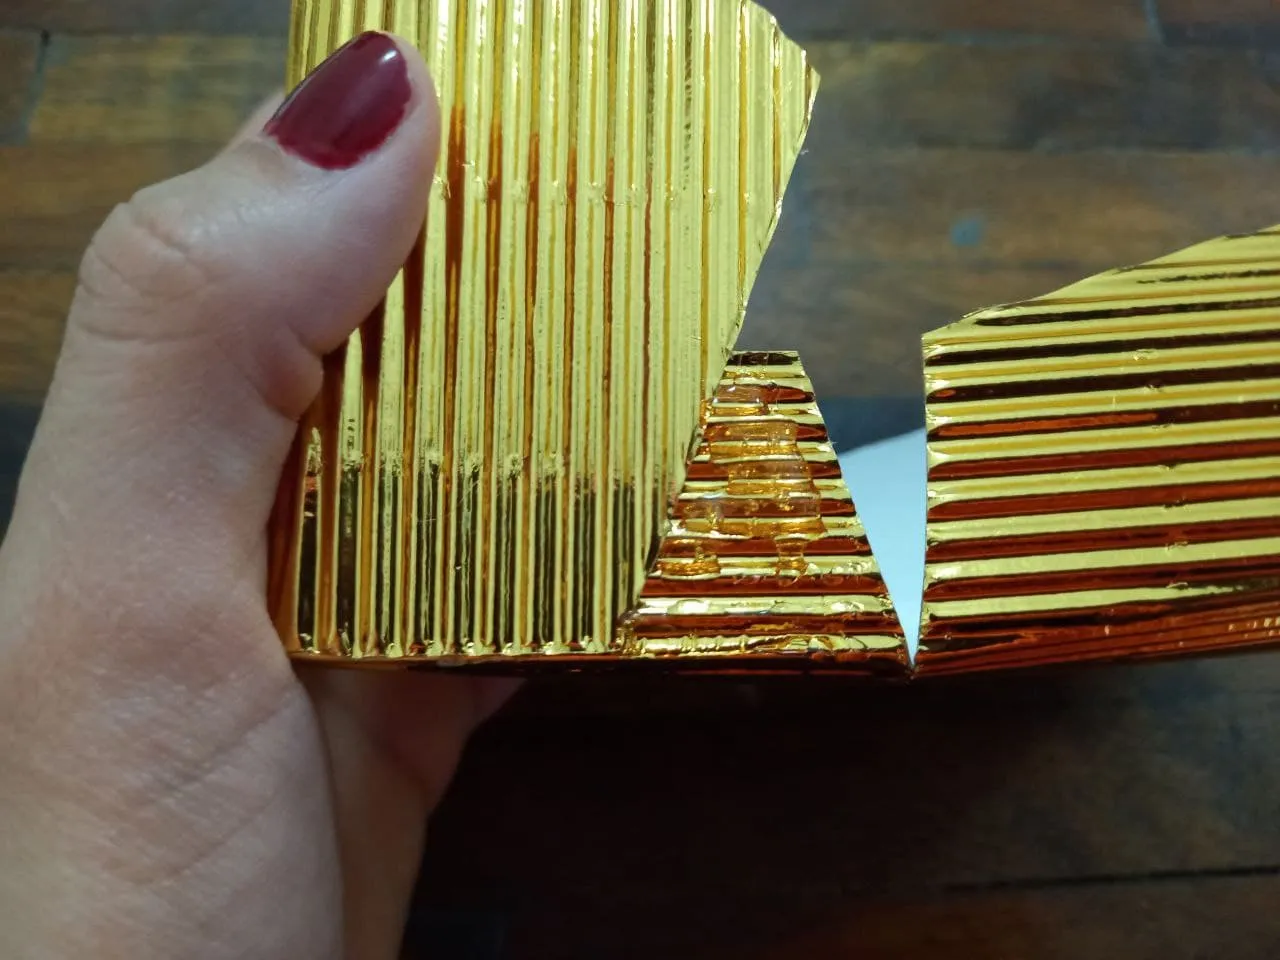
❤ PASO 3. Comenzamos a cerrar la caja uniendo las pestañas de los lados con silicón, quedando la del centro hacia adentro y las otras 2 una sobre la otra, repetimos del otro lado y ya la cajita está lista.
❤ STEP 3. We begin to close the box by joining the tabs on the sides with silicone, leaving the center one inwards and the other 2 one on top of the other, we repeat on the other side and the box is ready.


❤ PASO 4. Hacemos varios corazones pequeños en foami rojo escarchado, recortamos y los pegamos en la parte frontal de la cajita y a los lados par decorarla.
❤ STEP 4. We make several small hearts in frosty red foami, cut them out and glue them to the front of the box and to the sides to decorate it.


❤ PASO 5. Hacemos 6 conitos de papel con el papel de seda rojo y el estampado con corazones, acá les dejo mi tutorial de cómo elaborarlos en caso de que no sepan cómo hacerlos, luego los pegamos en la orilla superior interna de la cajita, 2 en la parte frontal, 2 en la parte trasera y uno de cada lado.
❤ STEP 5. We make 6 paper cones with the red tissue paper and the heart print, here I leave my tutorial how to make them in case you don't know how to make them, then we glue them on the upper inside edge of the box, 2 on the front, 2 on the back and one on each side.


❤ PASO 6. Para finalizar colocamos los dulces dentro de la cajita, dejando los más grandes o largos en la parte trasera y los más pequeños en la parte frontal.
❤ STEP 6. To finish, we place the sweets inside the box, leaving the largest or longest in the back and the smallest in the front.


¡Y listo! Ya tenemos una hermosa cajita de dulces para obsequiar, un detalle perfecto para San Valentín, bien sea para una pareja, amigo o familiar, de cualquier manera es un regalo ideal para cualquier persona especial, podemos decorar la cajita como más nos guste y añadirle más detalles si así lo deseamos, espero que les haya gustado este tutorial y les pueda ser útil para hacer sus obsequios en casa.
¡And ready! We already have a beautiful box of sweets to give as a gift, a perfect detail for Valentine's Day, either for a couple, friend or family member, in any case it is an ideal gift for any special person, we can decorate the box as we like and add more details if we wish, I hope you liked this tutorial and it can be useful to make your gifts at home.
Resultado ❤ | Result ❤


Todas las fotografías son de mi propiedad.
Fotografías capturadas con mi Samsung Galaxy A12
Separador de texto elaborado en Canva.
Nos vemos en mi próxima publicación.
¡Tengan un feliz día!
All photographs are my property.
Photos captured with my Samsung Galaxy A12
Text separator made in Canva.
See you in my next post.
¡Have a happy day!