feliz viernes, queridos amigos de HIVE DIY! 🥰❤️
Espero tengan un maravilloso día y un excelente fin de semana, el día de hoy quiero compartir con ustedes una idea para hacer unos agarraderas para la cocina, siempre es indispensable tener varias agarraderas para poder soportar el calor al agarrar nuestras ollas o utensilios metálicos en nuestra cocina, así que manos a la obra, acompáñame y te comparto el paso a paso :
Happy Friday, dear HIVE DIY friends! 🥰❤️
I hope you have a wonderful day and an excellent weekend. Today I want to share with you an idea for making pot holders for the kitchen. It's always essential to have several pot holders to withstand the heat when handling our pots or metal utensils in the kitchen. So let's get started! Join me and I'll share the step-by-step instructions:

MATERIALES
MATERIALS
En mi cocina, siempre me gusta tener varias agarraderas, ya que es algo cómico, pero a veces se nos pierden de vista y justo cuando necesitamos agarrar alguna olla caliente y nos toca buscar otras alternativas como algún paño, pero estos terminan quemándose, las tradicionales siempre están hechas con Cesco en las orillas, así que está decidí hacerlas de un modelo diferente, aquí les dejo la lista de materiales a utilizar :
- un retazo de tela de su preferencia, preferiblemente que no sea elástica
- guata (relleno)
- Cinta métrica
- Tijeras
- Máquina de coser
In my kitchen, I always like to have several pot holders, since it's kind of funny, but sometimes we lose track of them and just when we need to grab a hot pot, we have to look for other alternatives like a cloth, but these end up getting burned. The traditional ones are always made with braided edges, so this time I decided to make them in a different style. Here's the list of materials you'll need:
- A scrap of fabric of your choice, preferably not stretchy
- Wadding (stuffing)
- Measuring tape
- Scissors
- Sewing machine

PASO A PASO
STEP BY STEP
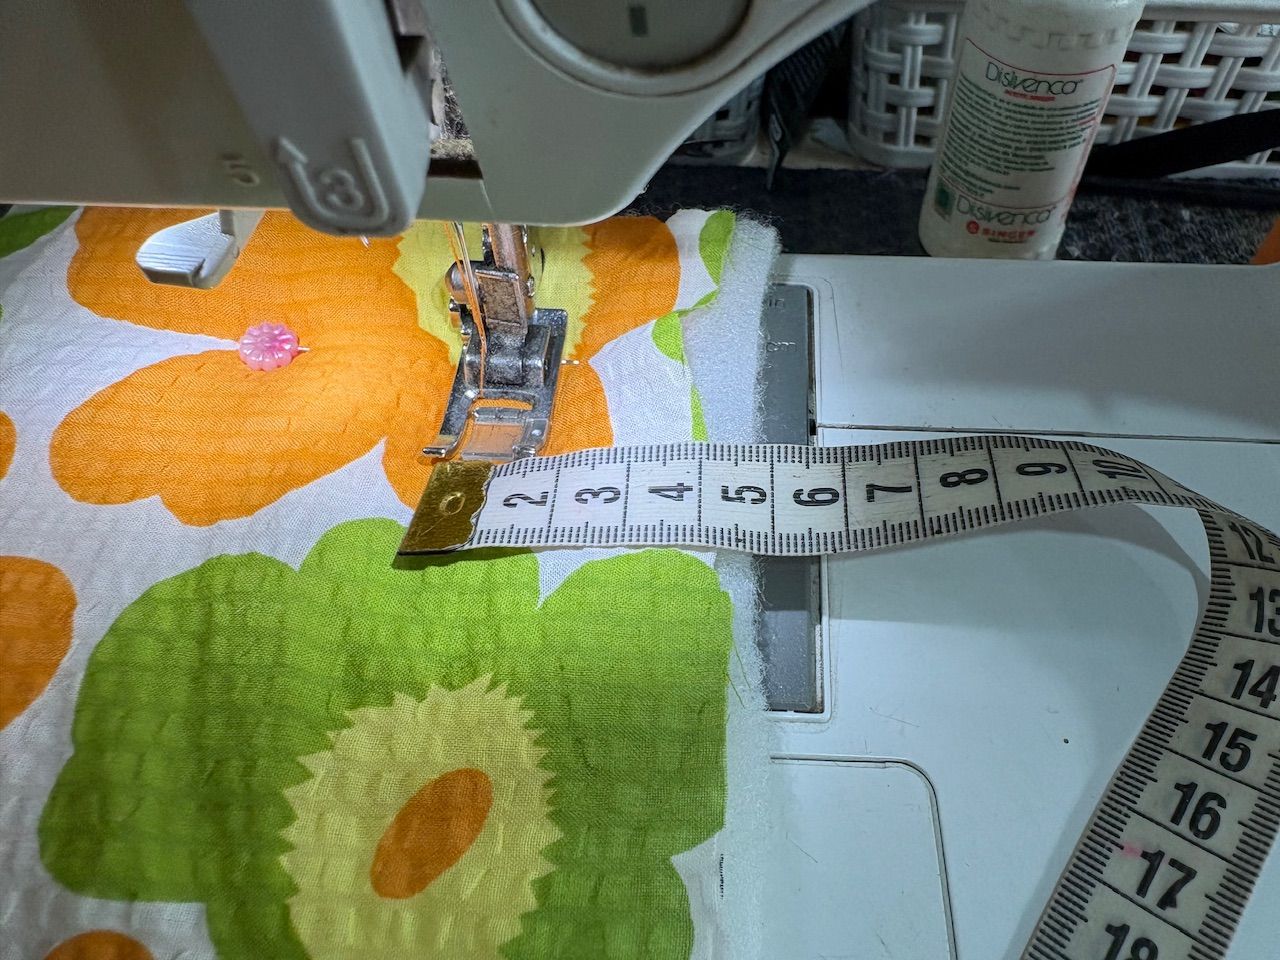
Vamos a comenzar definiendo el tamaño para nuestras agarraderas, en lo personal me gusta que sea un poco grandecitas, ya que mis manos son grandes, así que las voy a hacer de 20 cm por cada lado, pero estas las voy a hacer de una forma diferente a lo tradicional, no las quiero con sesgo en las orillas, así que las voy a hacer sólo con la tela principal esta la voy a cortar de 20 cm de ancho por 40 cm de largo para cada agarradera, Cortamos la guata del mismo tamaño de la tela.
Let's start by defining the size for our potholders. Personally, I like them to be a little big, since my hands are large, so I'm going to make them 20 cm on each side. But I'm going to make them differently than traditionally; I don't want bias binding on the edges, so I'm going to make them only with the main fabric. I'm going to cut this 20 cm wide by 40 cm long for each potholder. We cut the batting to the same size as the fabric.
 |  |
|---|---|
 |  |
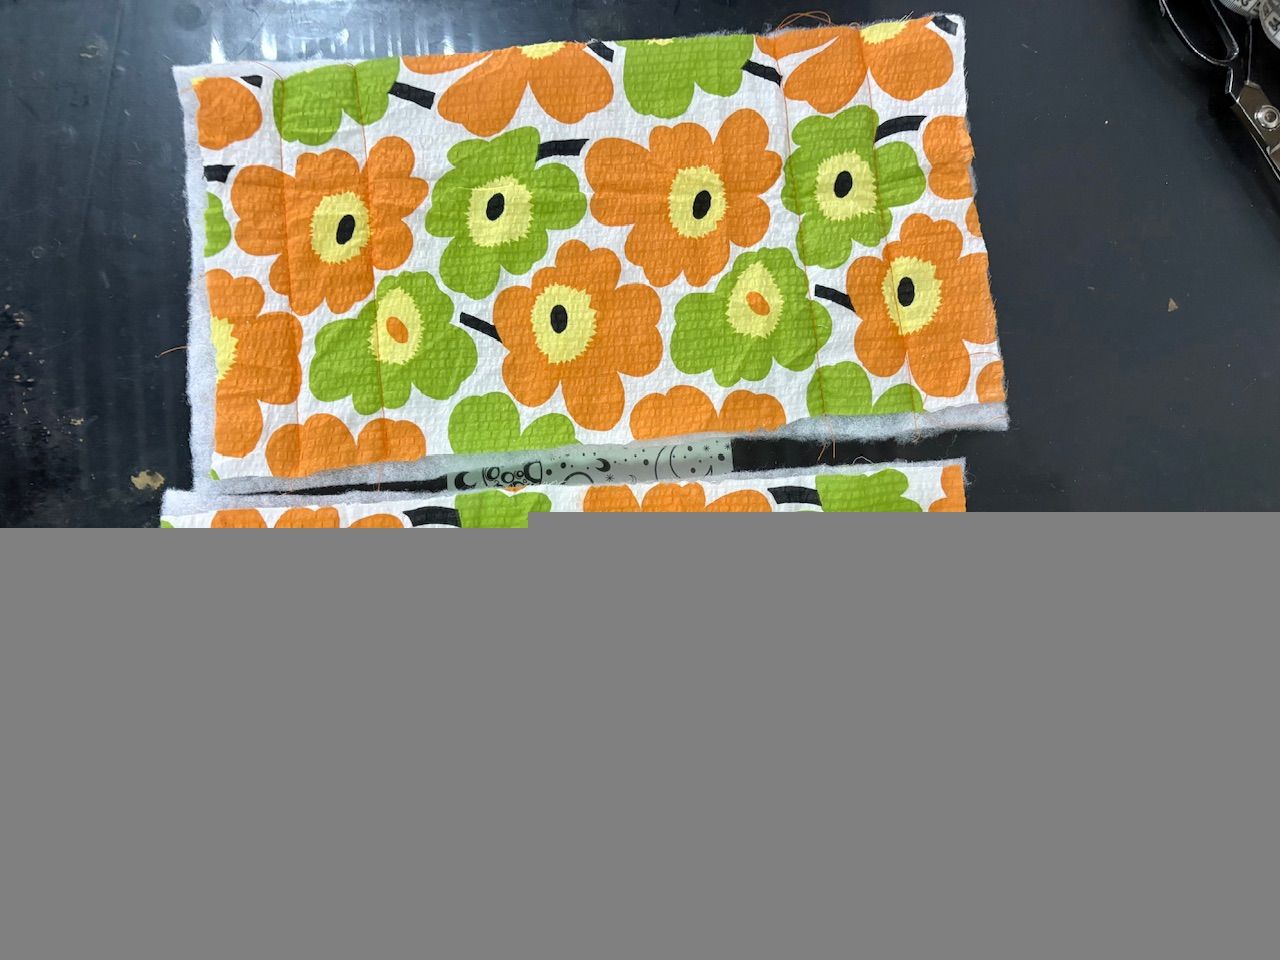
En este paso vamos a comenzar con las costuras, fijamos con alfileres la tela a nuestra guata y le vamos a pasar las costuras como más nos guste, a una de mis agarraderas, le voy a hacer una costura formando un rectángulo, dejando un espacio de aproximadamente 4 cm en las orillas, a mi segunda agarradera le voy a hacer sólo líneas con costura en forma horizontal, aquí puedes usar tu imaginación y hacerle la figura de las costuras, que más te guste .
In this step we're going to start with the stitching. We'll pin the fabric to our wadding and sew it however we like. On one of my potholders, I'm going to sew a rectangle, leaving a space of approximately 4 cm on the edges. On my second potholder, I'm just going to sew horizontal lines. Here you can use your imagination and create the stitching pattern you like best.
 |  |
|---|---|
 |
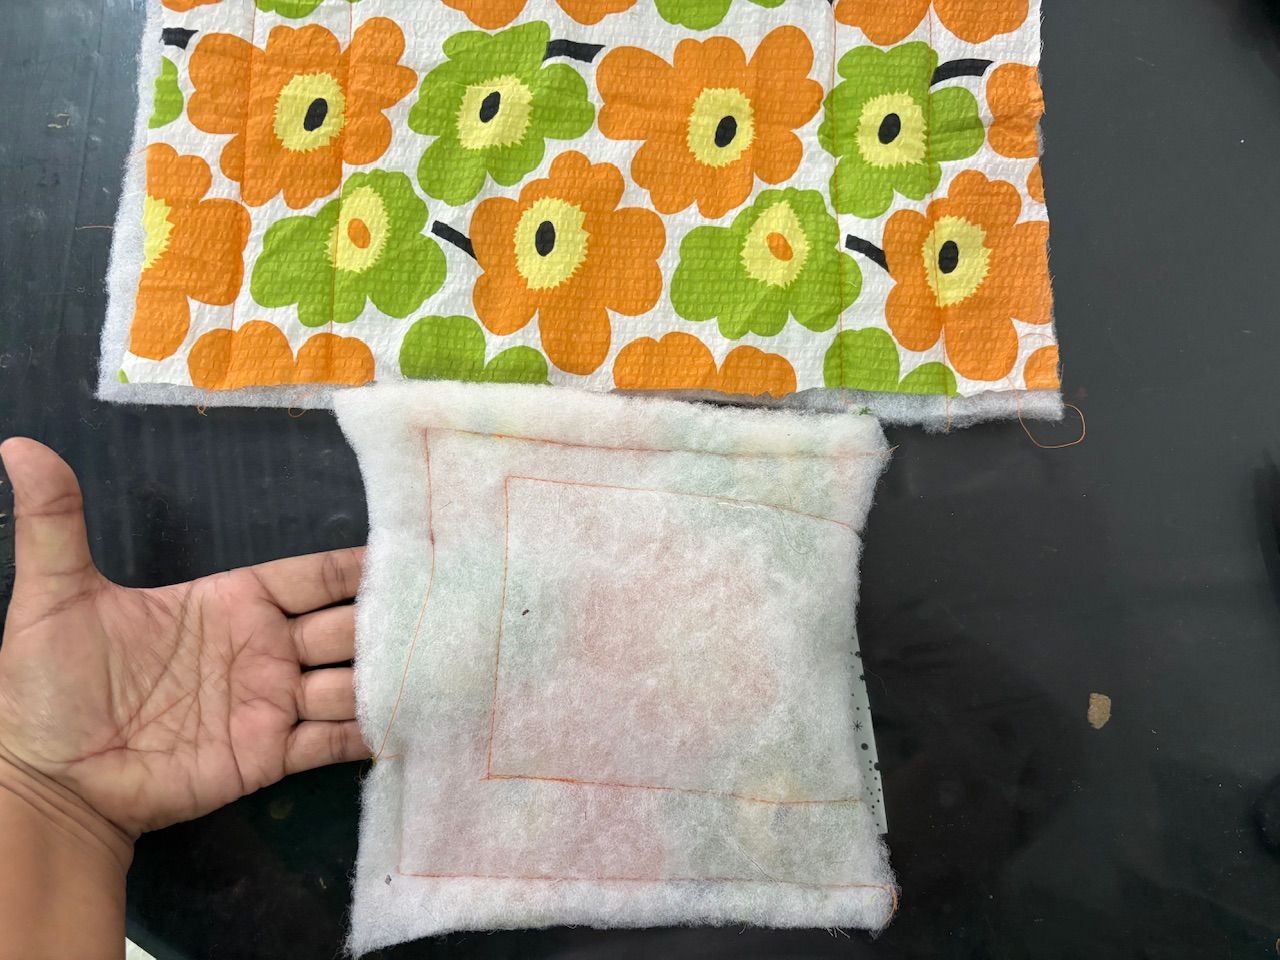
Ahora vamos a doblar a la mitad nuestra agarradera y le vamos a pasar costura uniendo las orillas, dejamos un espacio abierto para luego voltear, en mis imágenes les muestro como debe quedar
Now we're going to fold our handle in half and sew along the edges, leaving an opening to turn it right side out later. My pictures show you how it should look.
 |  |
|---|
Cortamos los excedentes de tela y luego volteamos, luego con algún retazo sobrante, hacemos una pequeña tira para colocar en el centro de nuestra agarradera para poder colgar, también podemos usar cinta, en mi caso corté dos retazos de tela de 6 cm de ancho por 10 cm de largo doble y pase costura, y luego ubicamos en el centro de la agarradera y le pasamos costura para fijar bien
We cut off the excess fabric and then turn it inside out. Then, with any leftover scrap, we make a small strip to place in the center of our handle so we can hang it. We can also use ribbon. In my case, I cut two pieces of fabric 6 cm wide by 10 cm long, doubled them, and sewed them together. Then we placed them in the center of the handle and sewed them in place to secure them well.
 |  |
|---|---|
 |  |
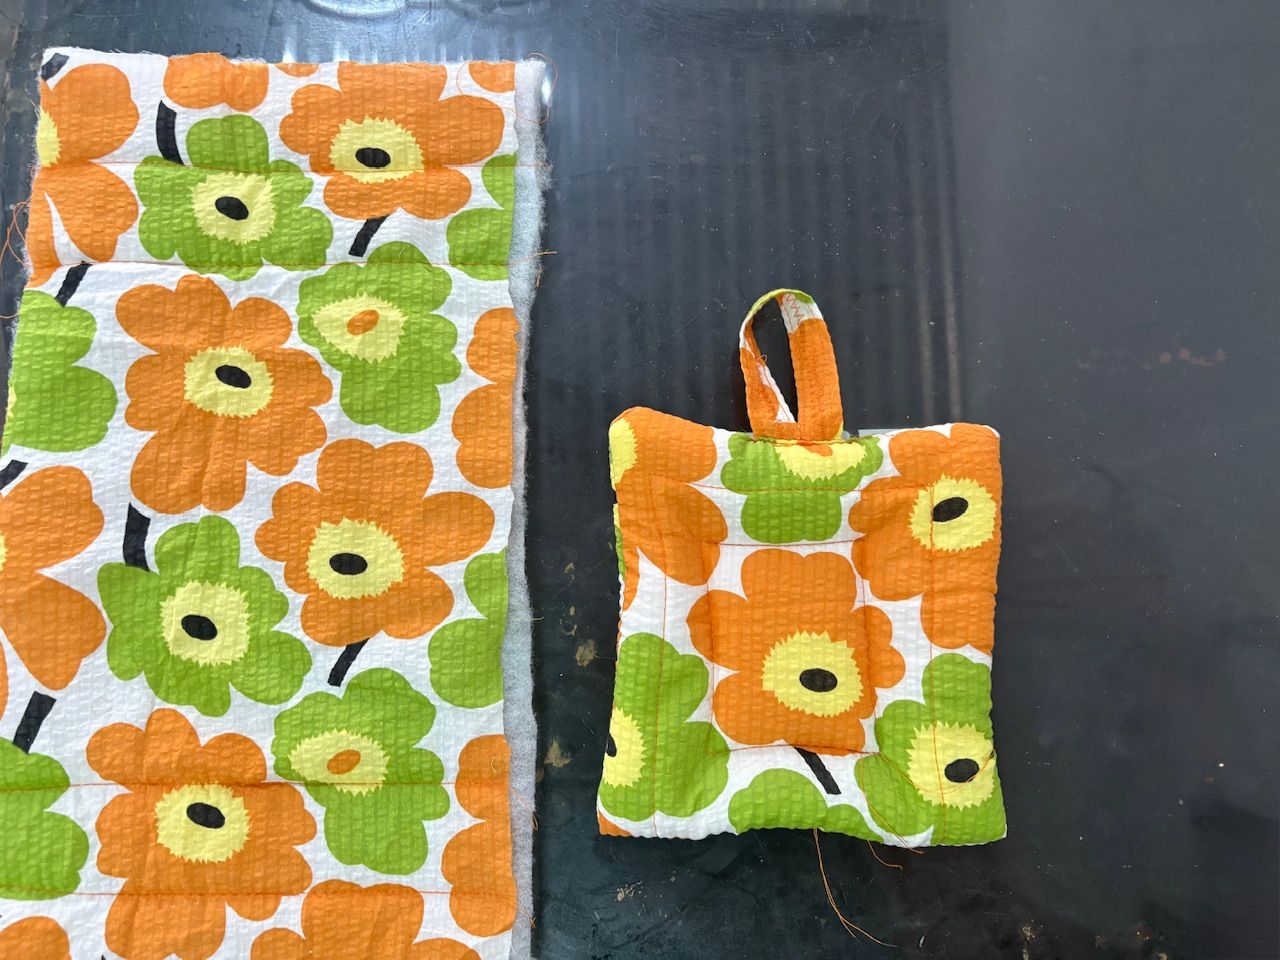
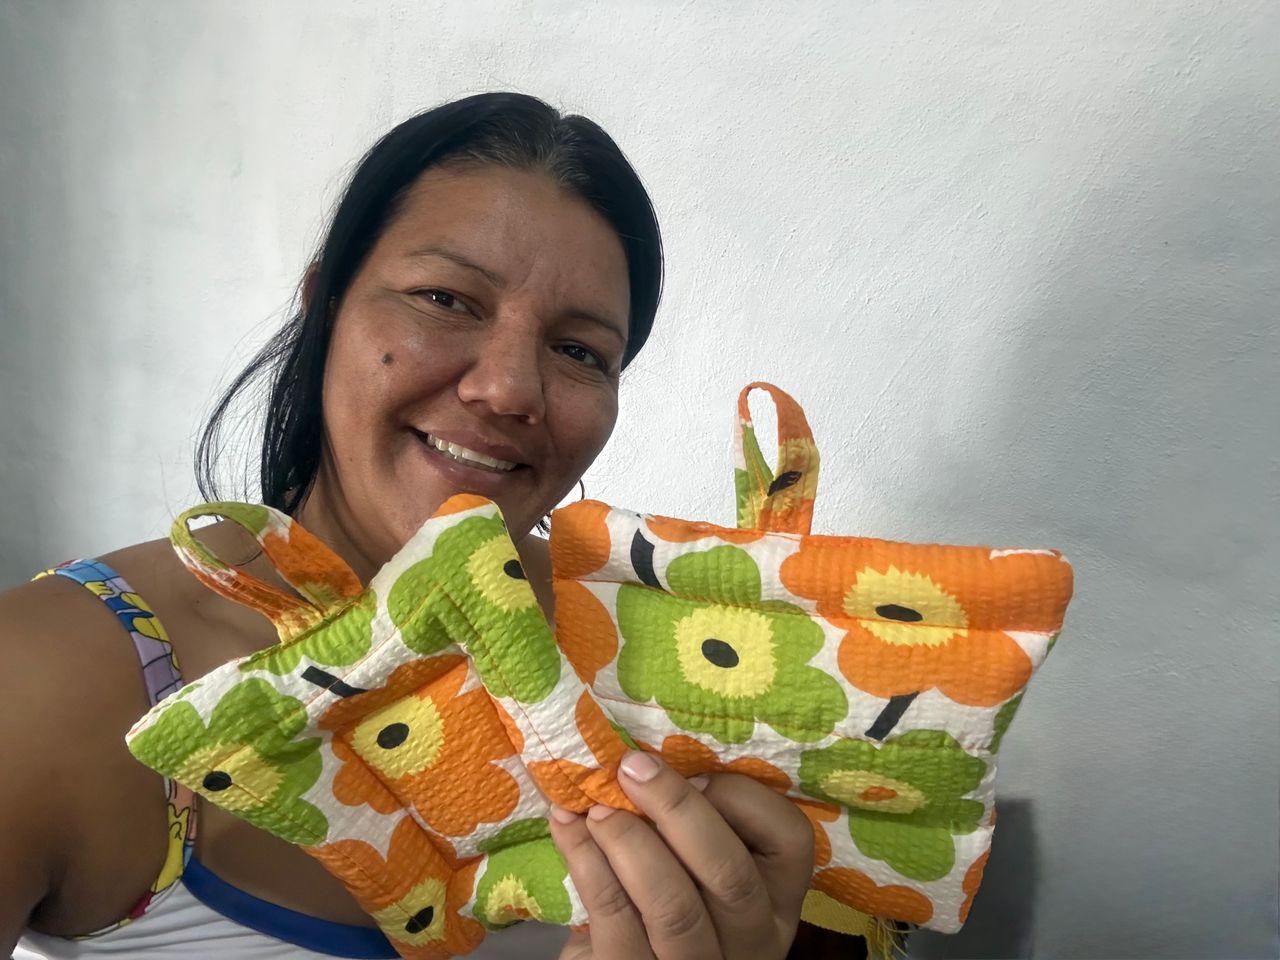
Ahora para finalizar vamos a pasar alguna costura, uniendo ambas partes de nuestra agarradera, esta costura va a ser decorativa, la puedes hacer del modelo que decís, en mi caso, a una le hice un cuadrado en el centro y a la otra le hice líneas horizontales, y así ya están listas. Estas lindas agarraderas para nuestra cocina con una técnica de costura, diferente sencillas y hermosas, espero les guste.
Now, to finish up, we're going to sew a decorative stitch, joining both parts of our potholder. You can do it however you like; in my case, I added a square in the center of one and horizontal lines to the other, and that's it! These lovely potholders for our kitchen are made with a different, simple, and beautiful sewing technique. I hope you like them.
 |  |
|---|---|
 |  |
Tenía dudas de cómo quedaría sin colocar Lesko en las orillas, pero el resultado me encantó, me gusta mucho también hacer creaciones nuevas para mi hogar y que luzca hermoso y original, eso es todo por hoy amigos me despido deseándoles que tengan un excelente fin de semana, hasta otra oportunidad 🪡🧵🥰❤️
I had doubts about how it would look without Lesko on the edges, but I loved the result. I also really enjoy making new creations for my home that look beautiful and original. That's all for today, friends. I'm signing off wishing you a wonderful weekend. Until next time! 🪡🧵🥰❤️
 |  |
|---|

las fotos aquí compartidas son de mi propiedad tomadas con mi teléfono iPhone 16, la edición fue hecha en Canva, para la traducción del inglés utilice el traductor de Google