I hope everyone is spending their beautiful moments with their families with great feelings. Art is truly a great love. Of course, we need interest, effort and beautiful skills to create art. It is only our responsibility to carve our own skills from within ourselves. So today I have joined my beloved diyhub community and brought a great creative art. Of course, this art will let you all enjoy it as a new and first art. But I have never made such a head cap. This is the first time and I have tried to make it very beautiful. Surely this creative art will inspire you all. And promote care for the environment.

I just explore my skills by enjoying the beauty around me. I think art is innumerable around me. I just create the passion to express my inner creative self by seeing that. Of course, a creative art is beautiful and promotes care for the environment. A head cap can protect yourself from the harsh glare of the sun. Also, many people who have bald heads can also benefit from this beautiful style skill by making a head cap.

A creative art is always a matter of honor. I see it is really fun to make a great project. Making a head cap with beautiful color paper decorations including special glitter paper and cardboard is a great style skill. I want all the skills to prevail among you. You must love creative art. Thank you for all your valuable time and cooperation.

Here I am presenting all the necessary materials and pictures with names.

🌺Scale 2B 🌺pencil dark
🔵Scissors 🔵B-6000 glue
🔵Cardboard 🔵White paper
🔵Colour paper 🔵Fevicol Glue
🔵Glitter paper 🌺2 plastic lead
Step by step cap making tutorial

First, I gathered all the practical materials. Then, I drew a circle shape on the top of a cardboard using a 2b pencil.

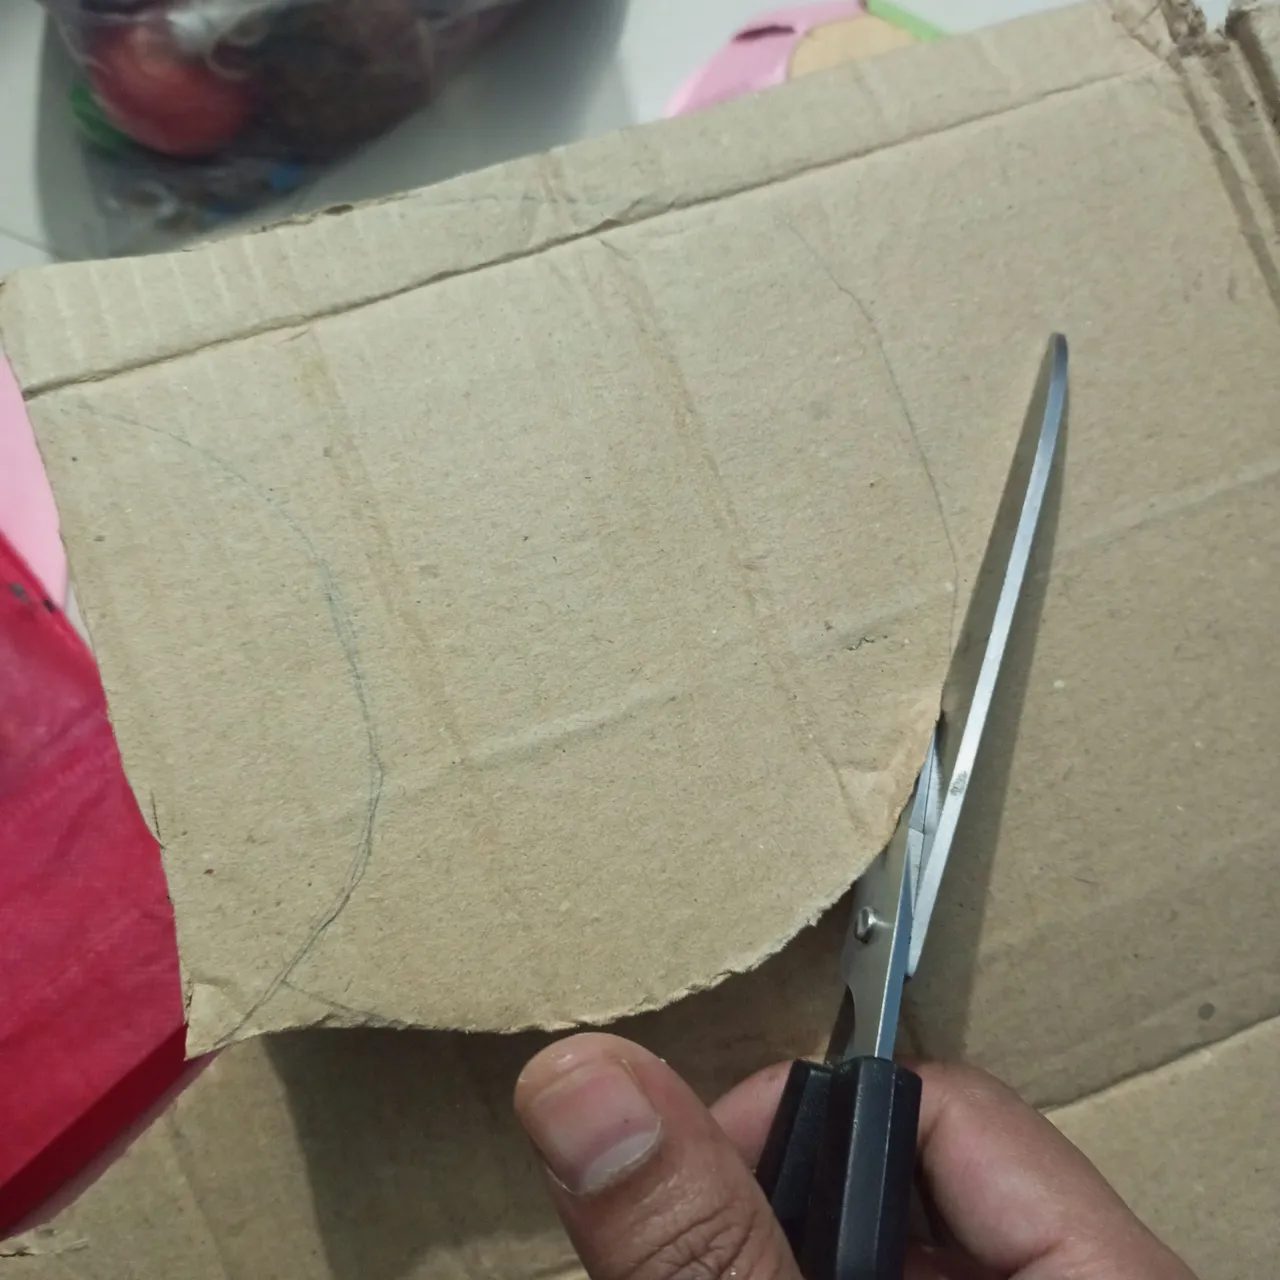
Then I worked very carefully, cutting the cardboard with scissors with great feeling.

In the third step, you can see that our cardboard cutting work is finished. You can see that we have created a beautiful cardboard in the shape of a round circle.

Next, I drew eight beautiful curved lines using a scale. Then, I drew a round circle in the middle using a plastic lead.

In this step, I cut out the long lines according to the drawing with scissors. Later, I cut out the middle part of the cardboard with a knife. Then I attached the green colored paper.


Later in these two steps, I cut the first part of the colored paper with scissors. Then I attached another colored paper and cut it again with scissors. Then I cut it again according to the previous cut mark and arranged the entire parts separately. I stuck it beautifully using B-6000 glue.

Here I have cut a white grey paper and shaped a beautiful design or a beautiful house on the top of the hat.

Here I have drawn the front part by connecting it to the top part of the cap and adding dimensions using a Tubi pencil.
Next, I took another piece of cardboard and cut it out with scissors according to the design for the front of the hat.

Here I have arranged this design nicely and lightly folded it. In the next part, I have made the design slightly curved.

Next I have attached glitter paper to the front part here. Then I have attached the front part and the top part of the head to make a great cap. So let's follow the final up.


Finally, I am presenting this amazing creative art to you all by arranging all the steps beautifully. I have completed a great tutorial on how to make a cap by arranging each step smoothly.I am sharing today's art creation method by presenting the design of this amazing cap with cardboard color paper and necessary practical items.


Here I have shown two selfies. With this awesome cap art. Surely you guys like this awesome art.

Thank you for reading my creative article blog .Stay safe,stay happy.i think if you find any mistake in writing or something. Please allow me to correct it.And find me on social media.
Twitter Discord
All Prepared by  Hive account@mdakash62

