How To
This series, I would want to show how we can use Adobe Photoshop to create and paint clouds. I am a background artist and this is my job.
This technique will make the entire painting process much easier and you will need a few layers to be separated so that it will be easier to do editing later on.
Step 1
Close the right colour for the horizon. Use the gradient tool as the mark of the height. Choose bright colour and slowly reduce the brightness based on the location of the sun.

Step 2
I will create the furthest cloud randomly. It doesn't have to be detailed. I will use sketches as silhouettes and thereafter I will use the gradient tool to separate the distance.

Step 3
Ue silhouettes for the clouds by using rough brush and to show the detail of the silhoutte of the texture at the tip of th ecloud. On the cloud use the brush for more details and form the clouds towards a particular cluster. The colours must be clean and neat. Thereafter use the smudge tool to soften the colour. The smudge tool is use to make the cloud that we have painted earlier to look softer and fluffier.

Step 4
This is the process where you colour the cloud that is closest. The technique is just like in step 3. You have to determine the position of the cloud and allow it to be bended just as if it is right above your head. The colour contrast and detail must also be improved to make it appear closer.
Step 5
This is the final process to wards the balancing of the colour. Touch up on the details wherever necessary and wherever you feel is lacking. Good luck trying.
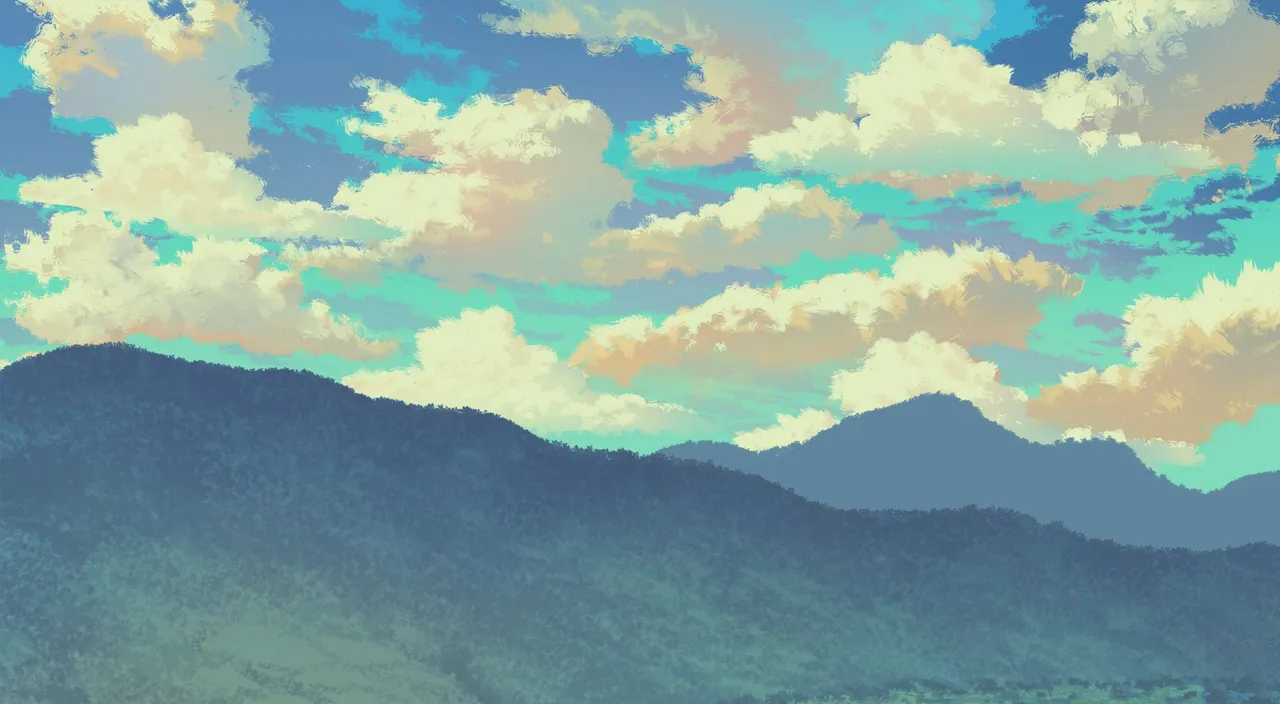
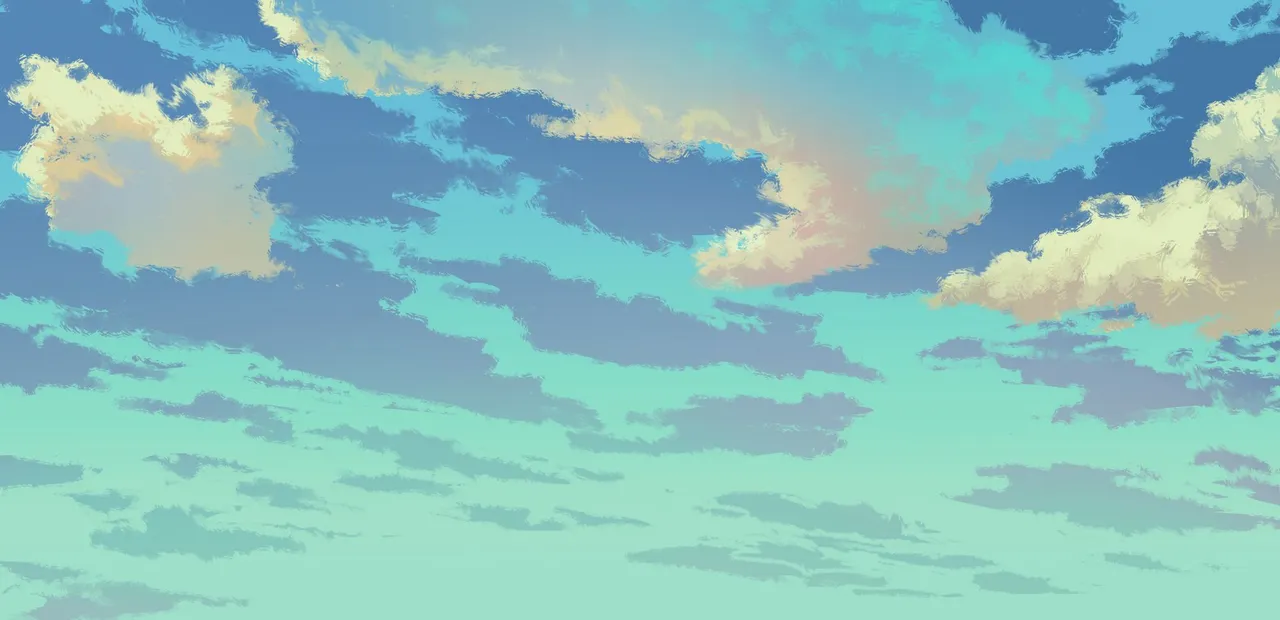
The following are examples of how I use the clouds in my background animation. I hope the following techniques will help you create good quality background faster and quicker.