Acrylic Laser Cutting: From Scratch to Box
Hello my co-steemians, good day!
Today I'm going to share with you one of my recent works related to engineering drawing and technology.

Currently, I'm helping my friend "Machai" with her undergraduate thesis device related to electronics. Her device needs to be properly enclosed since it will be subjected to various weather conditions and so, we resorted to having an acrylic casing with a 6-millimeter thickness. However, with such thickness, conventional cutting with the use of hacksaw won't be ideal for it may cause cracks or other damages to the acrylic casing. As a resolution, we decided to have it LASER cut in the Fabrication Laboratory Mindanao, MSU-IIT, Iligan City or well known as Fab Lab Mindanao.
Planning
We had initial talks with the tech experts at Fablab and what they need is a Drawing Exchange Format "dxf" file of the layout for them to be able to cut it with its state of the art LASER cutting machine. For me to be able to have that layout file of the design, I used the Google Sketchup software as well as internet web page Box Designer as an aid.
As planned, the acrylic casing must be of the size of 8 inches by 6 inches by 4 inches (length x width x height) for it to enclose all of the components of the device. The webpage Box Designer helped me a lot for me to be able to hasten the design process of the casing. By just plugging in the dimensions of the casing, the web page automatically generates a downloadable "dxf" file which can be imported into the Google Sketchup software which generates the 3D design needed by Fablab Mindanao.
Fab Lab Mindanao
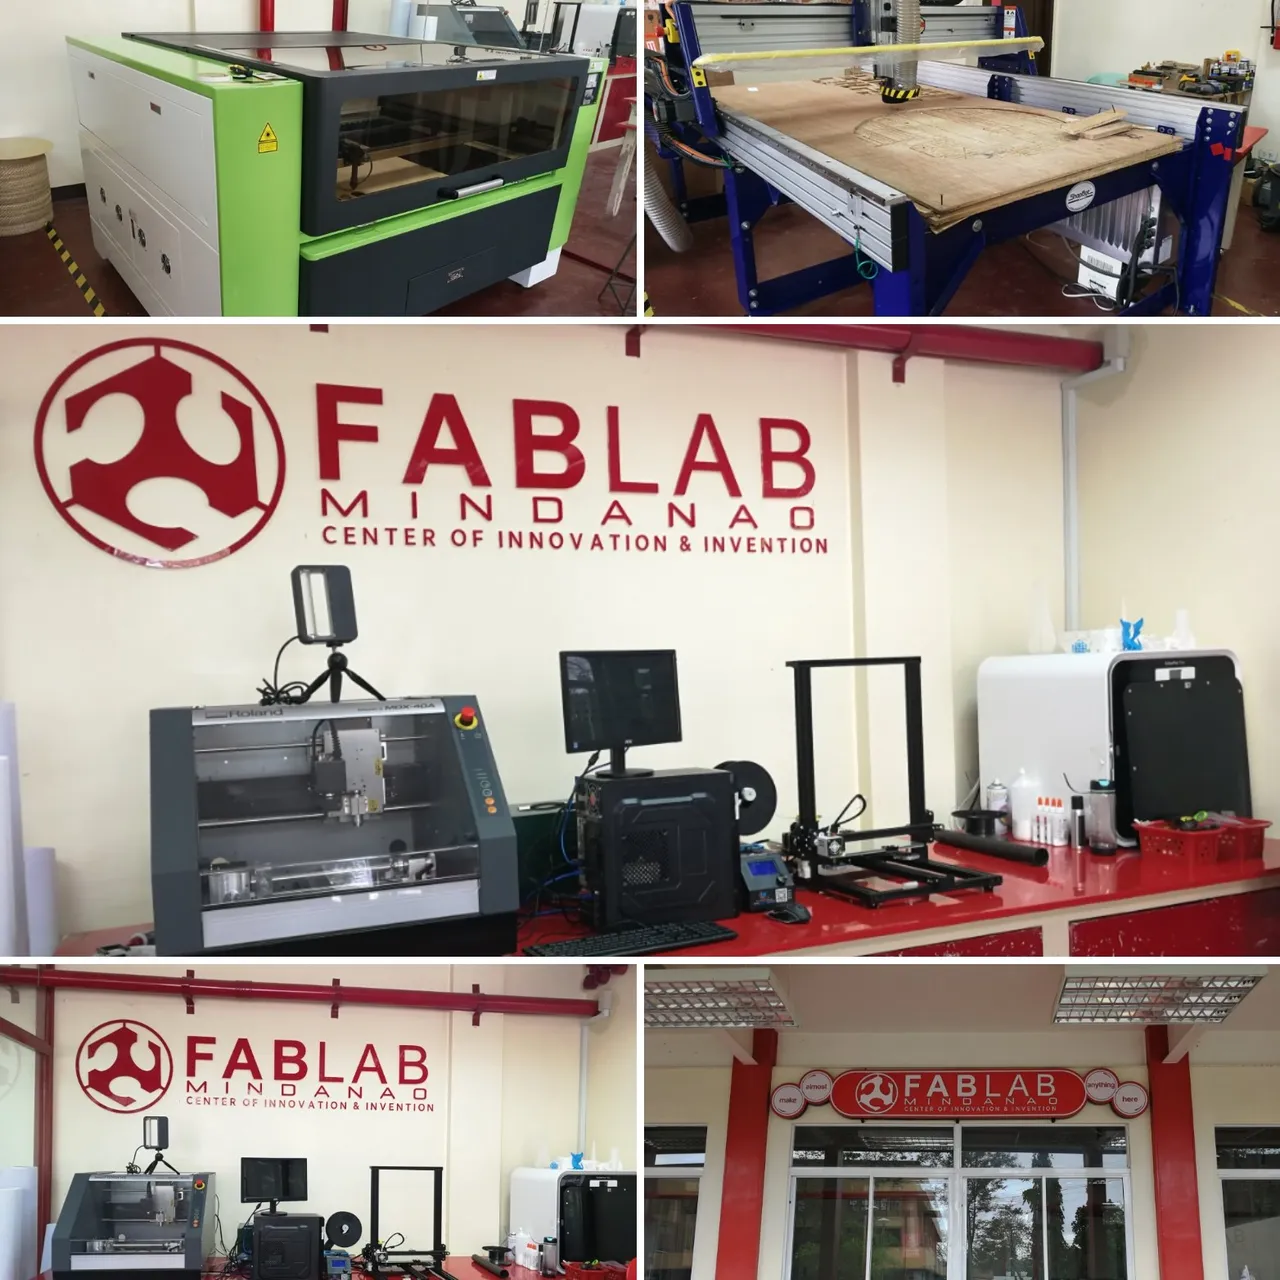
With the efforts of MSU-IIT to become a world-class institution, Fab Lab Mindanao was put up to widen the knowledge of its students in the field of technology specifically the 3D modeling. With the motto "Make almost anything", Fab Lab Mindanao caters the needs of the students on basic 3D design, fabrication and device prototyping. As of now, Fab Lab Mindanao caters internal and external links in basic and advanced training on their facilities. They are equipped with different Additive 3D printers, Computer numerical control (CNC) machines, and the last but not the least, its LASER cutting machine.
3D Design Modeling
For you guys to be able to have an easier walkthrough of the designing process, I've attached a video presentation of the process from the "dxf" file generated by the box designer browser tool up to the Google Sketchup generates the 3D design to be fed into the LASER cutting machine. The screen recording application, Bandicam was a great help for me to show the overall modeling process. Also, with the use of Adobe Premiere 2015, I was able to edit and refine my video presentation which was published on Youtube.

LASER Cutting
As soon as the Google Sketchup file for the casing was ready, I booked an appointment at FabLab Mindanao and was scheduled to have the acrylic board cut last February 1, 2018. The LASER cutting machine rental costs 20Php/min (0.3876 U.S. dollars) which is at a high cost. My friend, Lucas, helped me a lot to hasten the laser cutting process at FabLab Mindanao which helped me to have the cost of the cutting minimized.

Output
The image shown below is the final output of the LASER cutting of the casing. For the casing to be more firm, an adhesive was added into the connections in each of the acrylic pieces. It took 37 minutes for the machine to LASER cut all the pieces of the two (2) device casings. All in all, I paid a total of 740 Pesos (14.3708 U.S. dollars) for the LASER cutting job.

If I were to rate the final output from 1 to 10, I would surely rate it as 10 because its cut is well defined compared to its design on Google Sketchup. Aside from the good output, I commend the staffs especially to my friend Arvin John Lucas and Sir Lemuel Clark P. Velasco, MBM for the warm welcome and great help for me to achieve such output. So guys if you want something to be fabricated, feel free to visit or contact Fab Lab Mindanao and get the chance to use their state of the art facilities.