How to put effect on your text part 2 (Snowy Text)
Hello everyone this is the part to of my tutorial "How to put effect on your text" i'll show to you guys the snowy text using GIMP 2.8
- First of all you need to create a new project.

And then change the size of your project, in width 2560 and in height 1440 px then ok.


- After that go to Bucket Fill tools, after that make sure that your foreground is black, and then click i in the background to make it black.


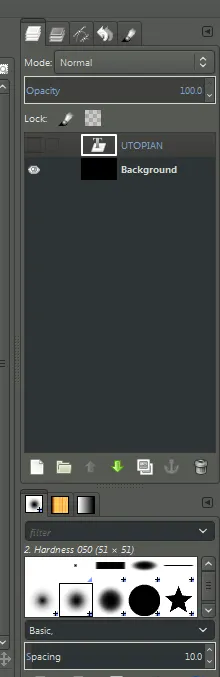
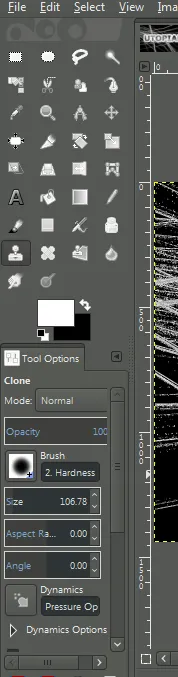
- After that change the foreground in to white and the background is black,
![Capture_2017_12_22_22_51_53_573.png]
()
And then choose Text tools and then choose font the best font is Sans Bold and change the size of the text it depends on you, but i do is 400.


And then type in the background you choose what word you use in your project i use in this project is Utopian.

And then after that go to Move tools to arrange your text.


- And then go to the layer and right click your text layer and click the Alpha to selection

After that go to Select menu and then click Feather and then it depends on you how much size you use i use is 80.


- And then go back in to your layer and hid it by clicking the eye on the side of layer.

- After that create a new layer (shortcut for create layer in the lower part of Layer list) and then press ok.


- After that go to select by color tools and then click the black background of your text.


And then go to select menu and then click invert.
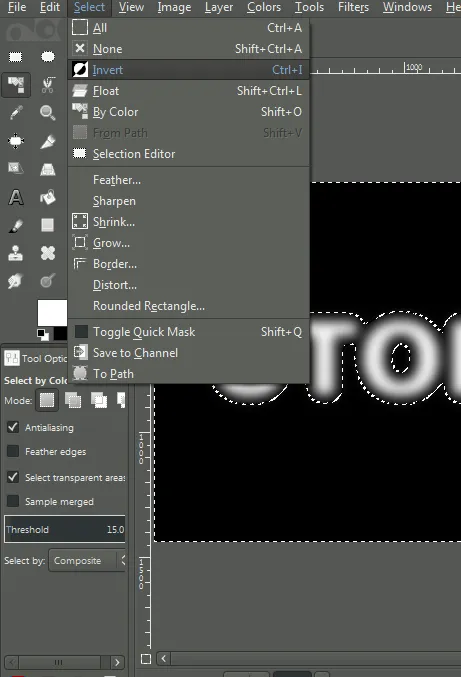
then click the text.


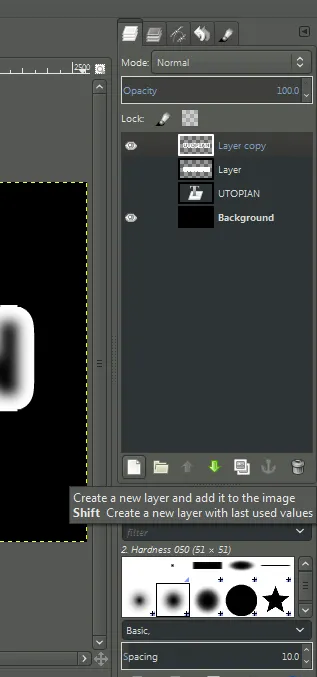
- And then go to your layer and copy or duplicate your layer.


And then hid the Original layer click the eye to hid it.

After that right click the text and then click Alpha to selection.


- And then go to Select menu and then click Feather and then pres ok.


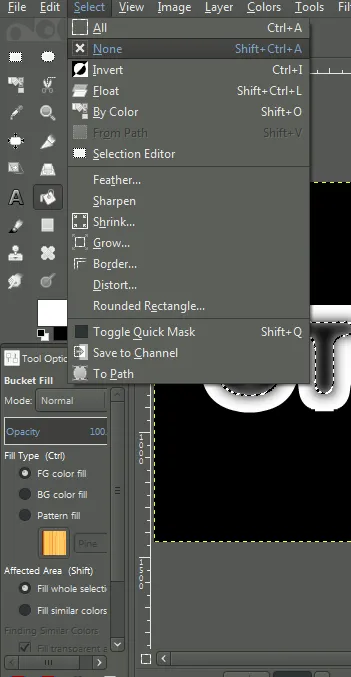
And after that go back to your layer and select your text and then press delete button on your keyboard, after that select the copy layer.

- Then go to select menu and click none to stop the selection on your text.
After that back again in your layer and create a new layer then press ok.

- And then go to Filter menu and click render and click nature and select Flame,

After that up the brightness.


And then click edit and then click the same and select Bent after that you need to choose flame.


And then zoom it by 2.00.


- After that go to Filter menu and click edge detect and click sobel and then press ok


And then go to Colors menu and click inverts.


And then go back to your layer and select the original layer and click Alpha to selection.

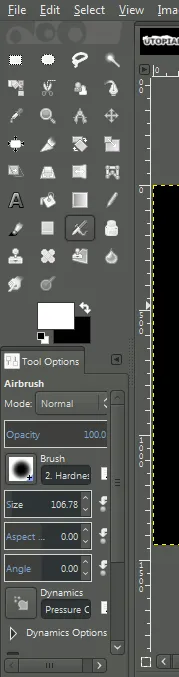
And then go to tools and click a Clone tools and then change the brush in to Hardness and the size is 105.


And then click it under your text.

After that back to the layer and then hid your layer #1 and then after you hid it go to your text and start click on the letter.


And then back again to your layer and select the copy layer and start put the flakes on your text like this,


and then go to select menu and click none.

- After that make a new layer.

And then go to free select tools. and then make a snow on the top of your text and then click bucket fill to fill it with white color and then go to Airbrush to make a shadow under your snow. make sure after you make snow go to select menu and click none.


To make a shadow in snow change the color to black and if you put a snow in the top of your text change the color in white.


And then select your background layer and go to blend tools change the color to blue and then click the side of your last letter in your text from the top to the lower of the text to make it like this.


- And then create a new layer then press ok.

Then select the bucket fill tools and then fill with black color click on the background.


After that go to Filters menu and click noise and click HSV noise and then ok.


And then after that go again in the Filters menu and select Light and shadow and click Sparkle

And then make the spike point from 4 to 10 then press ok.


And then wait for loading.

Then Click the normal on the top of the layers and then choose screen.

And this is the Snowy Text.

Thanks for reading this tutorial i hope that i help you to learn a new knowledge about editing text thanks to all of you guys God bless.
Posted on Utopian.io - Rewarding Open Source Contributors