"How to make Pencil Drawing Using GIMP 2.8 and my real picture"
Today i will show how to make pencil drawing using gimp. Let's start
First step open the picture you want to make a pencil draw. then Drag the picture.

click the zoom icon to maximize the photo layer

Then duplicate the photo just Click the Duplicate twice.

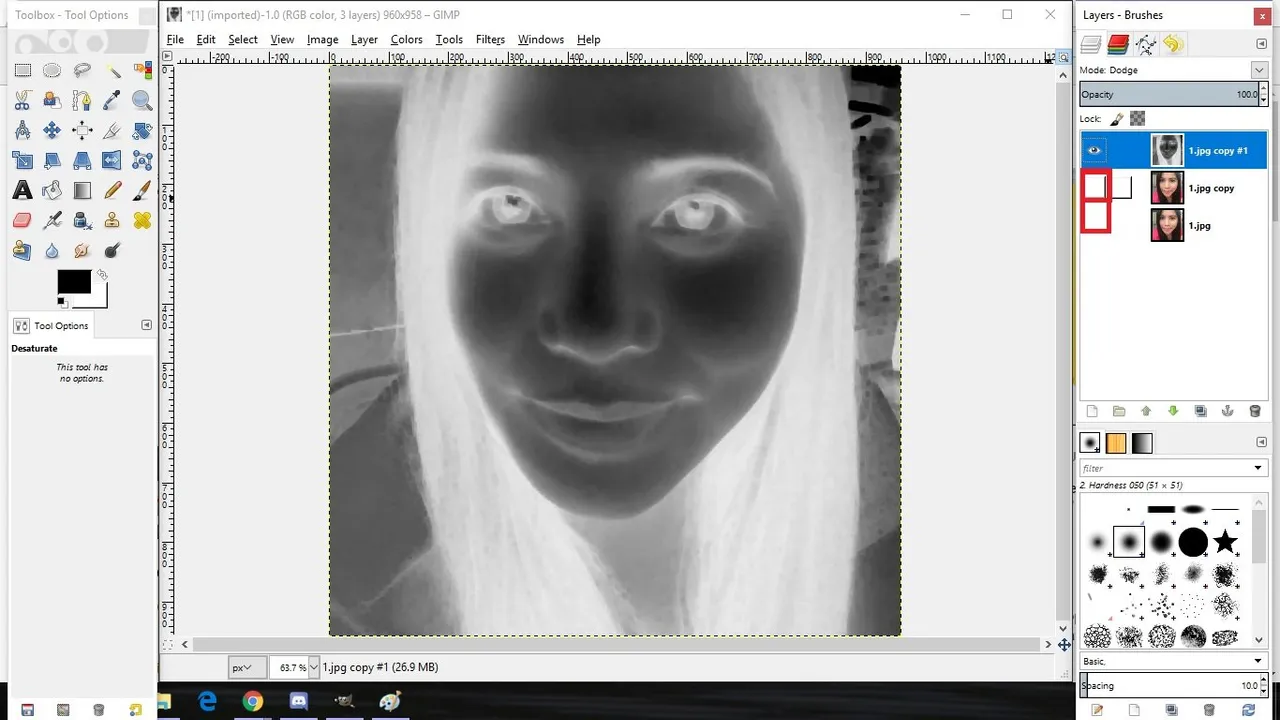
Click the normal - Dodge
this will happen to the picture.


Then click the colors to invert the background.

Click the Filter - Distorts - value propagate

Adjust the picture to center then click the More Black(smaller value) then press OK.

after that the picture going like this.

go to Filter again then click the Repeat "Value Propagate" twice.

click the colors then desaturate

sure that you click the lightness then press OK.

remove the active layer 2. and 3
press again the active layer then press layer no. 2

click again the colors then desaturate

Right click on the second layer then click Merge Visible Layer

Just press the Merge

click again the Colors - Curves

Adjust the curves to get the picture like pencil draw.

click again the colors the brightness-contrast

adjust the bright in to -30 and the Contrast to 40. then Hit the OK.

change the foreground into white.

Click the paint brush then adjust the size.

remove all the gray on the background to make it clean.

after you finish click the view - zoom(50%) - Fit image in windows.
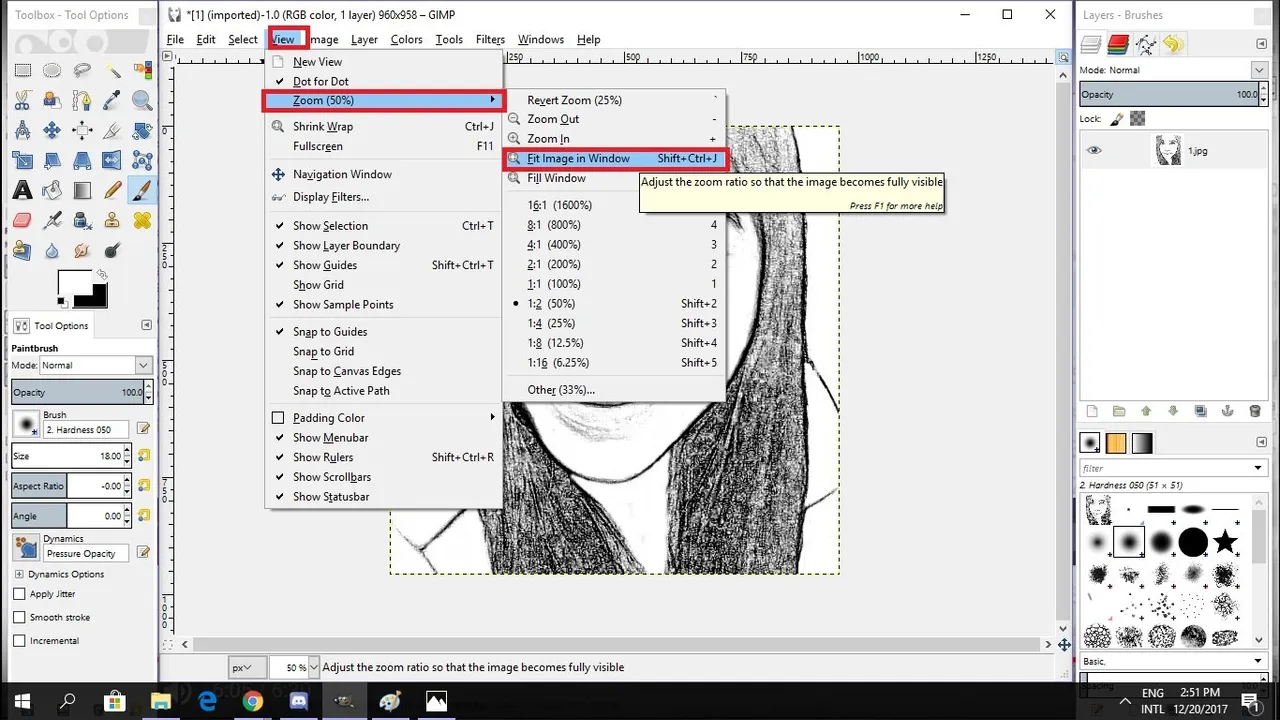
And now here are the result of Pencil Drawing using GIMP.


Hope that my contribution will help all of us. Thank you
Posted on Utopian.io - Rewarding Open Source Contributors