My last tutorial was about duplicating assets (nodes/scenes) which you can find here.
https://steemit.com/utopian-io/@rye05/godot-game-engine-tutorial-duplicating-assets-nodes-scenes
Today's tutorial would be about creating a button.
Let's start
- Launch Godot

- Create a folder for the game, I named it Button. It's important that the name of the folder is the same as your project.

- Click on new project.

- Click on browse.

- Locate the Button folder that you created and click on open.

- Click on create.

- This would be your interface once inside the editor, click on 2D at the top.

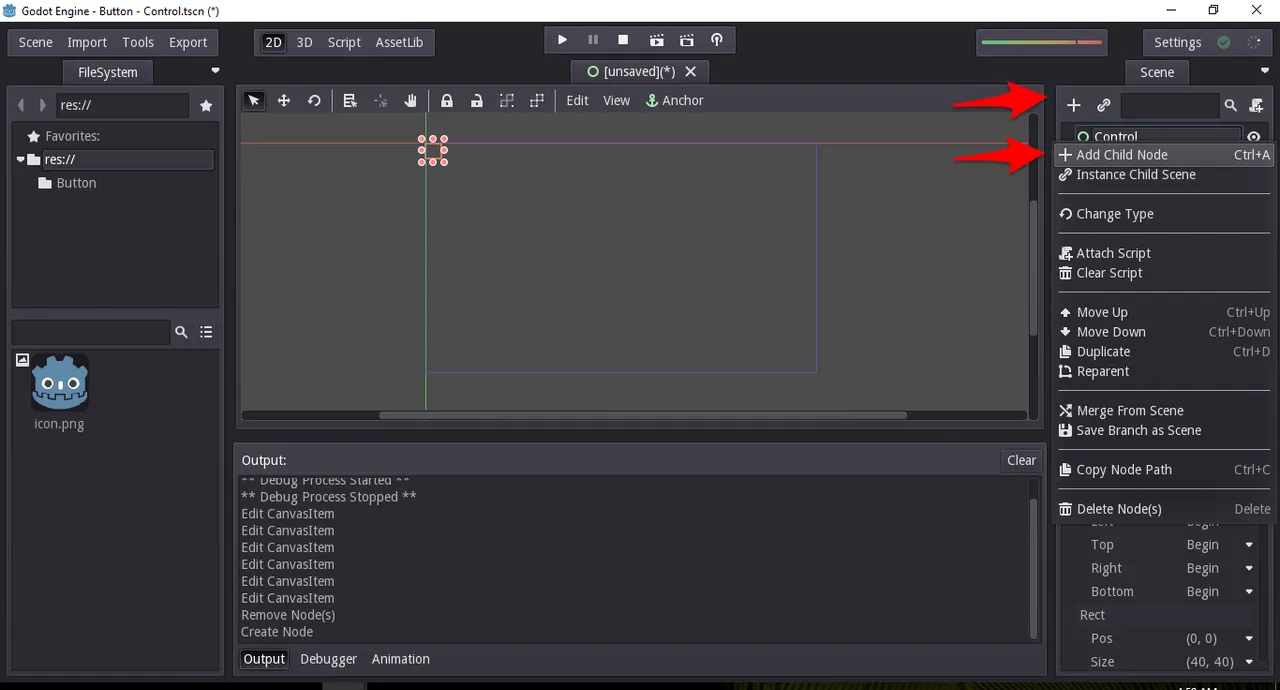
- Click on the plus button at the right side of the editor.

- We're gonna create a Control asset since it is for base UI. You can type it at the top to find it easily and then hit on create.

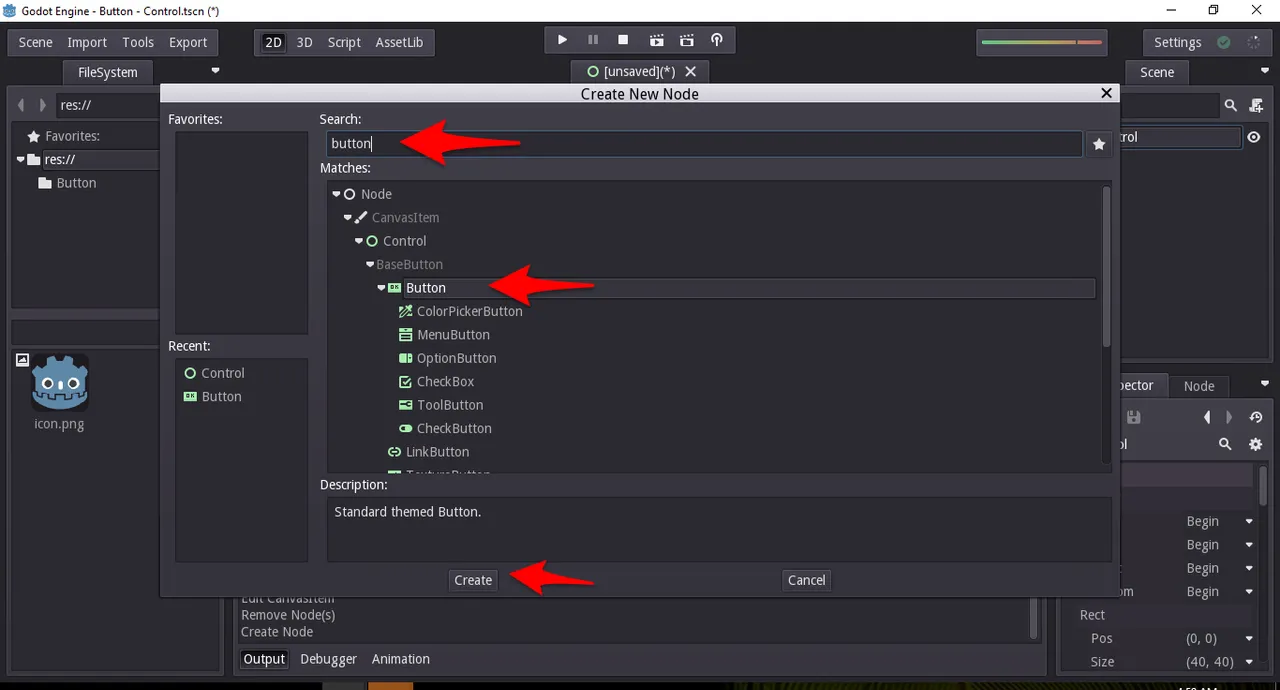
- Once the control asset has been created, we're gonna create a child asset called button. You can either click the plus button again while Control is chosen or right click on Control and choose add child node.
- Just like with Control, you can either search for button or look for it in the menu then hit on create.
- You might see a view like this, you can drag the button asset to the middle and expand it as well.
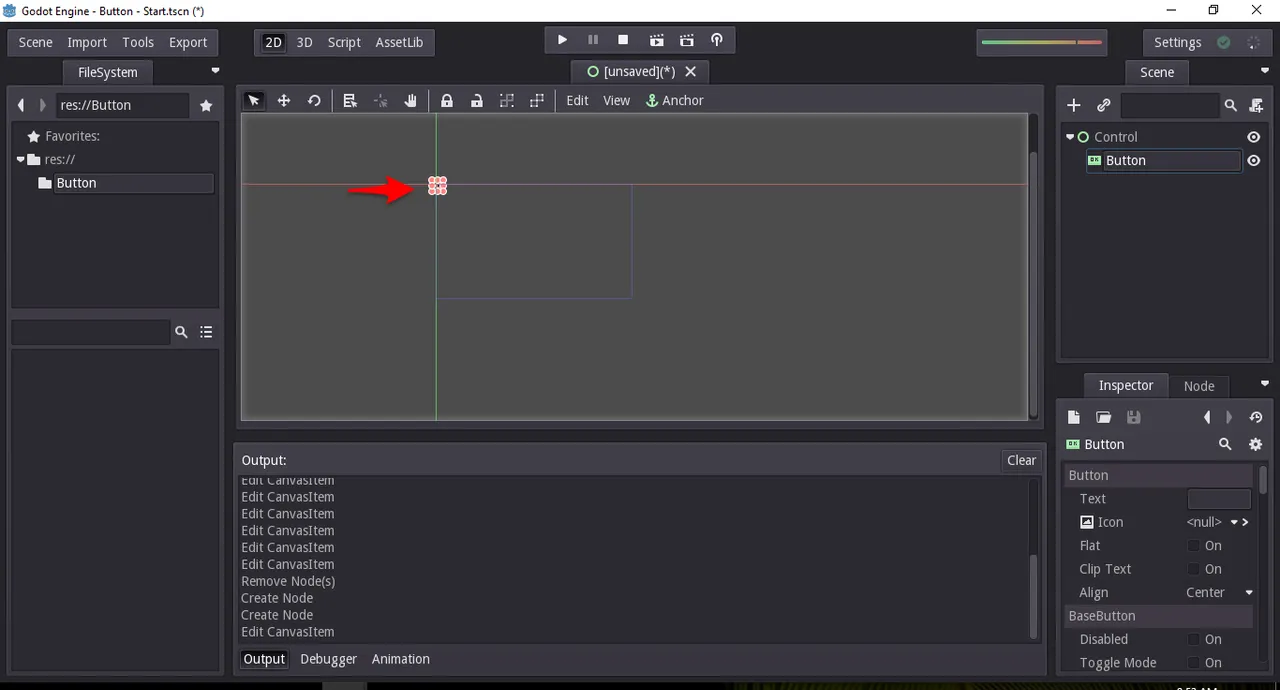
- You can also change the view to see it better.

- This is the view if you zoomed in a few times.

- To make this a real button, let's go ahead and add some wordings. I'm gonna put press start as what most games have. Just go to the right side and double click the text option and put press start.

- The words you typed will be inside the Button asset. Let's go ahead and try the button.

- Click on play at the top. You will be asked to save the file first and choose the scene but it's fairly easy.

- And here's what it will look like, when I put the arrow on the button, it changes color and then changes more when I click on it. There's your button.

Posted on Utopian.io - Rewarding Open Source Contributors