

We are back for my series of posts about DIY. This time we're not focusing in any woodworking. I wanted to showcase something I had worked on like a month ago. It's my field notebook for the trips on Flora Cumanensis.
A big part of going into this poetic exploration of Botany relies in having something to take notes. So we had a little 101 on how to make a notebook by hand. Quite an amazing experience.
Notebook


After getting a glimpse at the classes, I came back home eager to make my own notebook. To start this, we need to now how many pages we want to have. So, I took 25 sheets of letter-type white paper and decided that would be enough for my notes during the trips. I take a lot of notes, but it would be a lot to use more than that.
We first need to fold them in half. Now, the crease in the middle will be the backbone of the note book. So, through this crease, insert a needle. You can make as many holes as you want, but consider that each one makes the back of your notebook weaker in some sense. I went with 3. Then, thread a needle and get to sewing. However, how much thread we need? You need at least 4 times the distance between the farthest holes. Sounds vexing. Just measure from the first hole on the top portion to the last hole on the lower portion. That's how much thread you need.
But it doesn't end on this. We need some protection for the pages. In my case, I used some cardboard I had at home. Took measures and cut enough to cover the pages. The holes in pages should also match with the cardboard. That way the notebook will look peachy!
Now, comes the interesting part. You need a knot at the end of the thread. Then, you start doing some needlework. The movements should take you from the inside of the notebook to the outside. Each time you make 2 strokes, you need to fasten the thread on itself to hold the pages together. Rinse and repeat until you have to make a final knot.
By doing this, the notebook works. However, it might need some pressure to flatten out everything inside. And also, what's a handmade notebook without some personality?
Ornaments
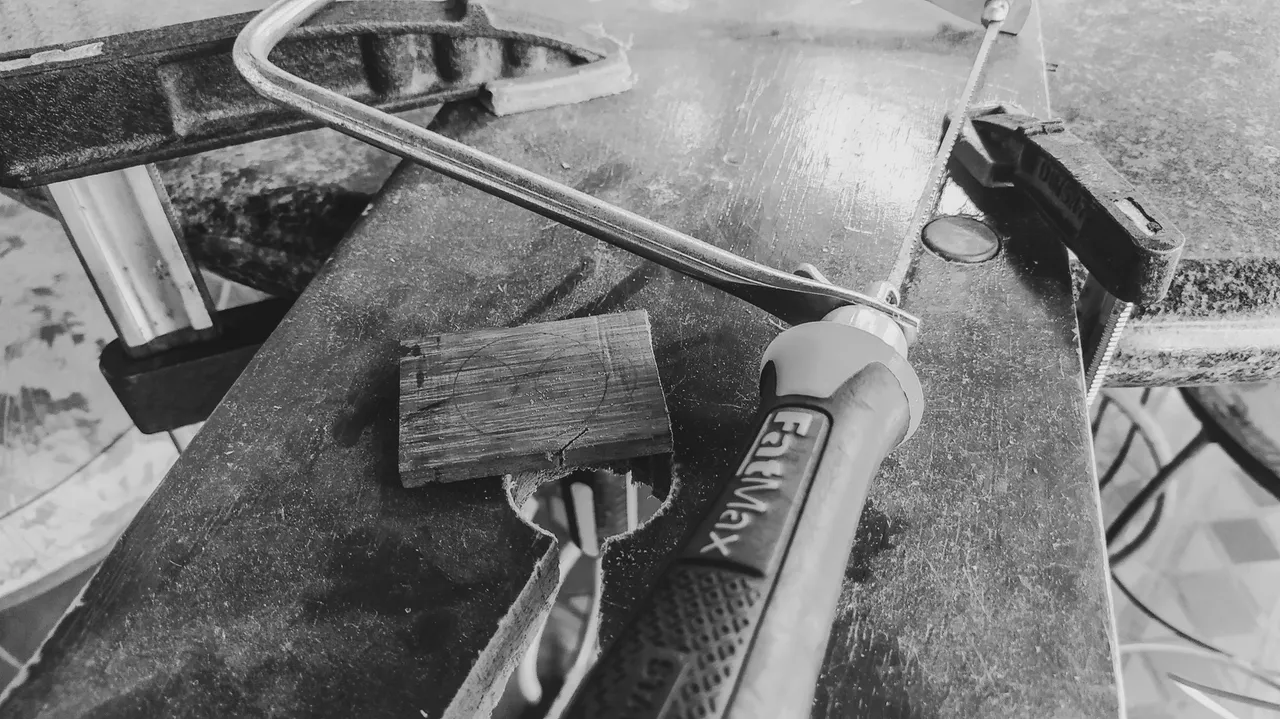


I had an idea while attending to this workshop. A wood button. Not just any wood. Purpleheart. Yes, it's tough, but it looks great. I lied when I said I wasn't going to show any woodworking. How could I not?
Anyways, we need a piece of purpleheart to cut into a round shape. Then, we'll use a button to have a sort of template to the work to do. After sanding the edges of our ornament, we can start with the hard parts. We need to make 2 holes to pass some thread and sew it to the notebook. That doesn't sound so hard. The tough part is giving some shape to it.
So a bit of carving and sanding is due to get the shape just right. I think buttons have many shapes according to their use. Mine is bit round on the center and little thin as it goes to its edge.
To sew to the notebook, first we need to reinforce the other face of the cardboard to prevent it from breaking. So I used a piece of mahogany I had around for this. We then make some wholes on it after it is glued on the notebook. The final touch on the finish if the button is some teak oil to protect it from humidity. Then, we go back to the needlework. This time we don't need to have a tight fit for this piece. The reason of this is that we'll a final touch, other thread that will help us close the notebook. Since we want to collect some things from nature, we need to keep the notebook closed until we can glue the samples of nature. This thread will help us tie the notebook shut.
And with that we are ready.
How does it look?

Fotos/Photos 📷: taken by me (Redmi Note 8)
Portada/Thumbnail 🖼️: by me, created with Canva.
Edición/Editing 🎬: by me, made with Adobe Photoshop Lightroom.

Follow me on Instagram for enquires and commission.
If you'd like to help the workshop grow, you can make a donation here.
You can find me at discord as bertrayo#1763