¡Saludos Comunidad Creativa! | ¡Greetings Creative Community!
Hoy me he animado a compartir con ustedes mi participación en el concurso de reparaciones generales del hogar de la comunidd #HiveDIY en conjunto con la comunidad #Build-it y mostrarles un arreglo que he hecho en mi cocina para los mesones luego del trabajo de remodelación que se le hizo recientemente, acá les dejo el post donde compartí todo este proceso y puedan observar cómo quedó, notarán que aun hacen falta las puertas de madera para los mesones pero ese es un proyecto que en un futuro no muy lejano planeo hacer ya que la remodelación fue muy costosa, pero por otra parte no quería quedar con mis mesones descubiertos, sin puertas ni nada y tampoco me gusta el hecho de que se vea a simple vista todo lo que hay allí dentro sin mencionar que al tener los mesones descubiertos es más fácil que almacenar polvo al momento de sacudir y limpiar, lo que implica que siempre todo se ensuciaría más rápido, lo ideal es colocarle sus puertas de madera pero en vista a que en este momento no puedo cubrir ese gasto se me ocurrió colocarle a los mesones unas cortinas, pero no de tela sino de plástico y aunque piensen que posiblemente no quede muy bien les aseguro que sí, lucen muy lindas y cumplen con su función que es cubrir los mesones, además de eso también le coloqué papel adhesivo a los mesones por dentro para así poder colocar cosas allí dentro son dañar ni manchar nada y a su vez eliminar un poco la superficie con polvo y sea más fácil de limpiar así que al momento de hacer estos pequeños arreglos en mi cocina documenté todo el procedimiento para compartirlo con ustedes esperando que esta idea pueda ser de utilidad, a continuación les muestro paso a paso como lo hice.
Today I have decided to share with you my participation in the #HiveDIY community general home repair contest in conjunction with the #Build-it community and show you an arrangement I have made in my kitchen for the countertops after the remodeling work that was done recently, here I leave the post where I shared this whole process and you can see how it turned out, You will notice that the wooden doors are still needed for the counters, but that is a project that I plan to do in the not too distant future, since the remodeling was very expensive, but on the other hand, I did not want my counters to be left uncovered, without doors or anything. and I also don't like the fact that you can see everything in there with the naked eye, not to mention that having the countertops uncovered is easier than storing dust when shaking and cleaning, which means that everything would always get dirty faster , it The ideal is to place its wooden doors, but since at this moment I cannot cover that expense, it occurred to me to place some curtains on the counters, but not fabric ones, but plastic ones, and even if you think that it may not look very good, I assure you that it does. They look very nice and fulfill their function, which is to cover the counters. In addition to that, I also put adhesive paper on the inside of the counters so that I can place things inside without damaging or staining anything, and at the same time, remove a bit of dust from the surface. and it is easier to clean, so when I made these small repairs in my kitchen I documented the entire procedure to share it with you, hoping that this idea could be useful, below I will show you step by step how I did it.


Materiales 🛠 | Materials 🛠
◉ 2 Cortinas plásticas de baño.
◉ Papel adhesivo transparente.
◉ Tijera.
◉ Lápiz.
◉ Regla.
◉ Cutter.
◉ Silicón caliente.
◉ 2 plastic bathroom curtains.
◉ Transparent adhesive paper.
◉ Scissor.
◉ Pencil.
◉ Ruler.
◉ Cutter.
◉ Hot silicone.

Manos a la obra 👩🔧 | Let's do it 👩🔧
➤ PASO 1. Lo primero que hice fue retirar todo de la parte interna de los mesones (platos, vasos, ollas, condimentos, etc) luego de eso con un cepillo de barrer sacudí todo el polvo y pasé un pañito húmero por toda la superficie para eliminar el polvo restante.
➤ STEP 1. The first thing I did was remove everything from the inside of the counters (plates, glasses, pots, condiments, etc.) After that, I shook off all the dust with a sweeping brush and wiped it with a damp cloth all over the surface to remove any remaining dust.


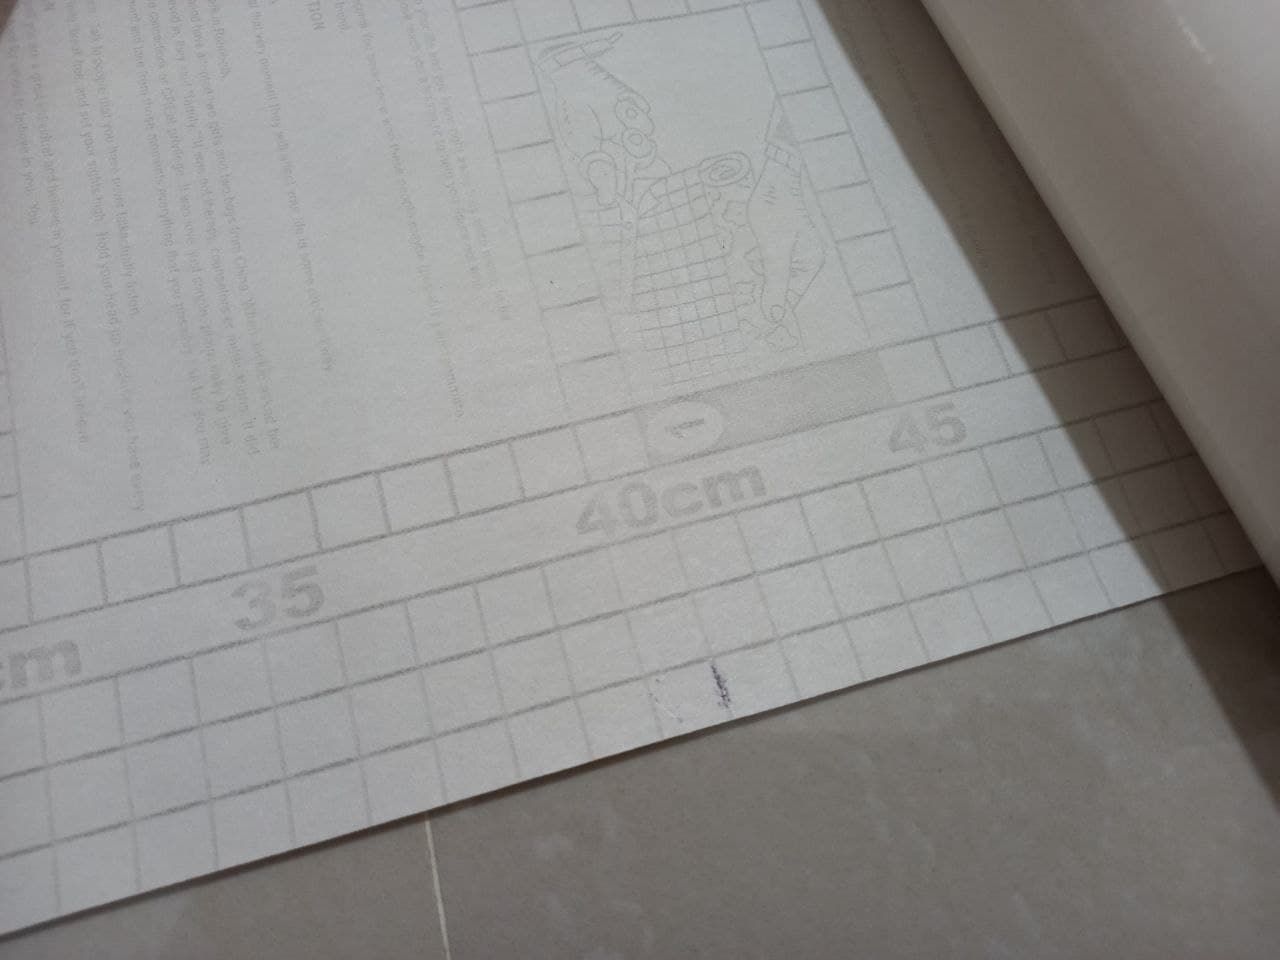
➤ PASO 2. Una vez que todos los mesones estaban limpios y sin polvo comencé a tomar las medidas para recortar el papel adhesivo transparente que iría en la parte de adentro, esto lo hice con ayuda de una regla, marcaba con un lápiz y luego recortaba.
➤ STEP 2. Once all the countertops were clean and dust-free, I began to take the measurements to cut out the transparent adhesive paper that would go on the inside, I did this with the help of a ruler, I marked with a pencil and then cut out.


➤ PASO 3. Luego de tener todas las piezas de papel adhesivo recortadas procedí a pegarlas todas una a una con mucho cuidado par que quedaran lisas y no se hicieran burbujas en ellas, esto fue lo que me tomó mas tiempo.
➤ STEP 3. After having all the pieces of adhesive paper cut out, I proceeded to stick them all one by one very carefully so that they would be smooth and no bubbles would form in them, this was what took me the longest.


➤ PASO 4. Una vez que ya había pegado todo el papel adhesivo transparente en la parte interna de los mesones comencé a guardar todo de nuevo de manera ordenada, para posteriormente comenzar a pegar las cortinas y tapar los mesones.
➤ STEP 4. Once I had glued all the transparent adhesive paper on the inside of the countertops, I began to put everything back in an orderly manner, to later start sticking the curtains and covering the countertops.

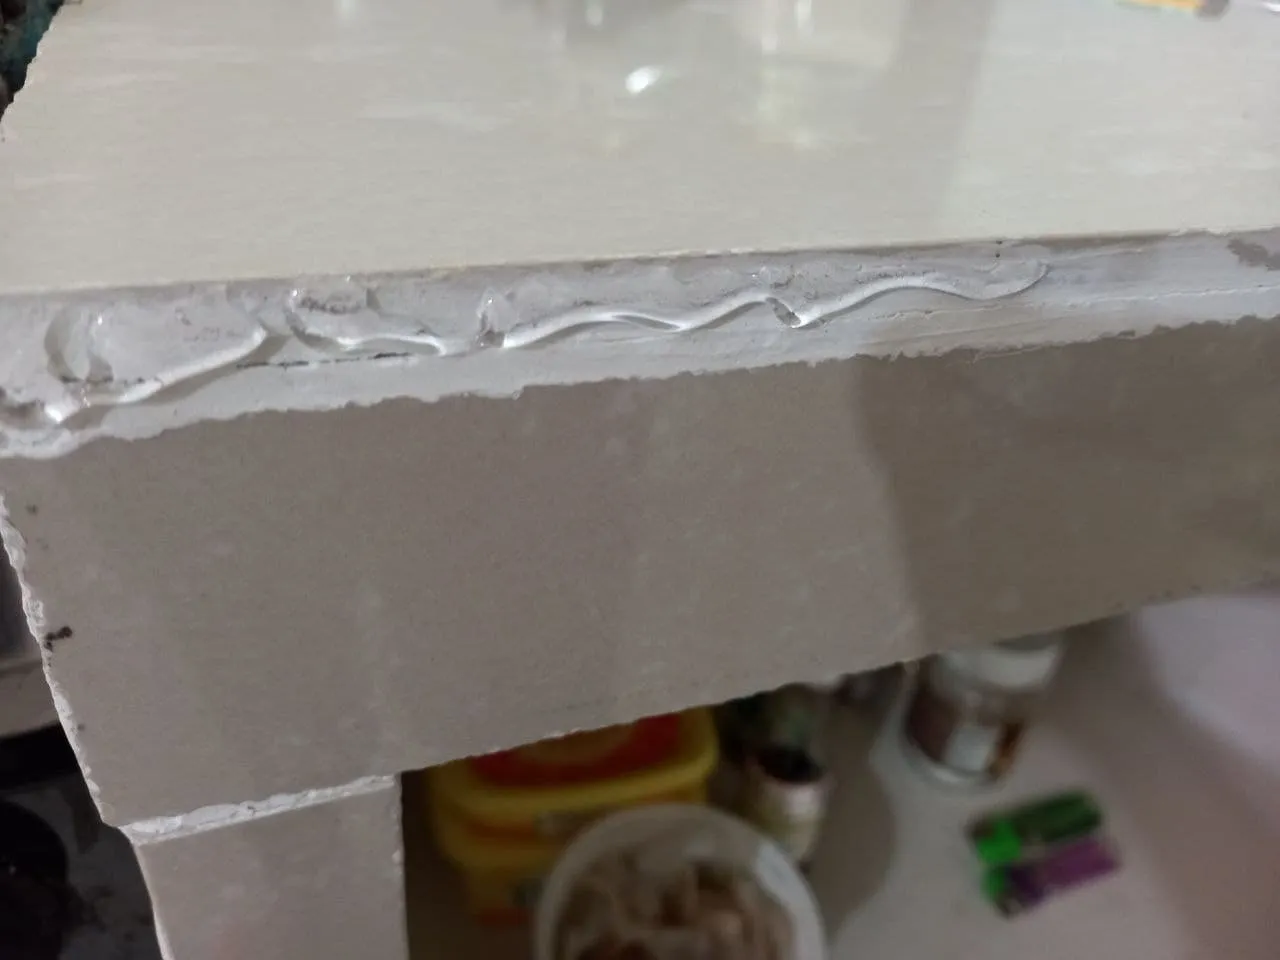
➤ PASO 5. Calenté la pistola de silicón por unos minutos y mientras tanto tomé las medidas de las cortinas plásticas, solo tuve que extenderlas y doblarlas a la mitad en sentido vertical y quedaron justo a la medida para los mesones, quedaron con la altura perfecta. Luego de tener la medida exacta de las cortinas de plástico comencé a pegarlas, aplicando una línea de silicón caliente en la orilla superior de los mesones partiendo de un extremo a otro, pero eso sí, tuve que aplicar silicón poco a poco para que no se secara, aplicaba silicón e iba pegando la orilla de la cortina al mesón poco a poco hasta pegar la primera cortina.
➤ STEP 5. I heated the glue gun for a few minutes and in the meantime I took the measurements of the plastic curtains, I only had to extend them and fold them in half vertically and they were just the right size for the countertops, they were with the perfect height. After having the exact measurement of the plastic curtains, I began to glue them, applying a line of hot silicone on the upper edge of the counters starting from one end to the other, but yes, I had to apply silicone little by little so that it does not dry, applied silicone and was sticking the edge of the curtain to the table little by little until sticking the first curtain.


➤ PASO 6. Para la segunda cortina tuve que hacer un corte para completar la primera y terminar con ese mesón, luego corté de nuevo a la medida del ultimo mesón, el más pequeño que está al lado de la cocina.
➤ STEP 6. For the second curtain I had to make a cut to complete the first and finish with that counter, then I cut again to the size of the last counter, the smaller one next to the kitchen.


¡Y listo! Fue así como hice este pequeño arreglo para los mesones de mi cocina luego de la remodelación, ahora ya no hay polvo en la parte de adentro y todas las cosas se mantienen limpias, además ya no se ve nada de lo que hay dentro gracias a las cortinas, así cuando llegue una visita no tendrá esa fea vista al ver mi cocina sino una buena impresión por lo lindo que quedó todo, al menos a mí me gustó mucho y estoy muy contenta con mi cocina tal y como está, esto me permitirá tomar el tiempo necesario para colocar sus puertas de madera como debe ser, quisiera invitar a mi amiga 
And ready! That's how I made this small arrangement for my kitchen counters after the remodeling, now there is no dust on the inside and everything is kept clean, plus you can't see anything inside thanks to the curtains, so when a visitor arrives they won't have that ugly view when they see my kitchen but rather a good impression because of how nice everything turned out, at least I liked it a lot and I'm very happy with my kitchen as it is, this will allow me to take the necessary time to place your wooden doors as it should be, I would like to invite my friend
Resultado | Resultado

Antes | Después


Todas las fotografías son de mi propiedad.
Fotografías capturadas con mi Samsung Galaxy A12
Separador de texto elaborado en Canva.
Nos vemos en mi próxima publicación.
¡Tengan un feliz día!
All photographs are my property.
Photos captured with my Samsung Galaxy A12
Text separator made in Canva.
See you in my next post.
¡Have a happy day!