The photo theme for this week's Qurator Photo Quest is “Double Exposure”.
A technique from the analogue era
The origin of this technique stems from the analogue era in which the double exposures were accidentally created in the first instance. The film roll was then not transported properly and in this way a (negative) was exposed several times. You can now apply the same principle in many digital cameras, only accidental is no longer an issue. It is nowadays used as a creative extra when shooting.
You never can be 100% sure
It is an exciting technique to make the double exposure directly in your camera because you can never be 100% sure beforehand what your shot will ultimately look like. This makes it exciting, but also unexpected and it produces incredibly nice images once you understand a little what the technology is based on. And that is that the light parts in a photo will always predominate over the dark parts.
The possibilities are ENDLESS
There are many possibilities to play with this technique, because you can also combine more than two images, for example. Most digital cameras can combine up to 9 images in this way, true multiple exposures. You can imagine that you can make very exciting, unreal images with it where it is no longer completely clear what you are looking at. But what applies, the longer you look at it, the more you can see in such an image.
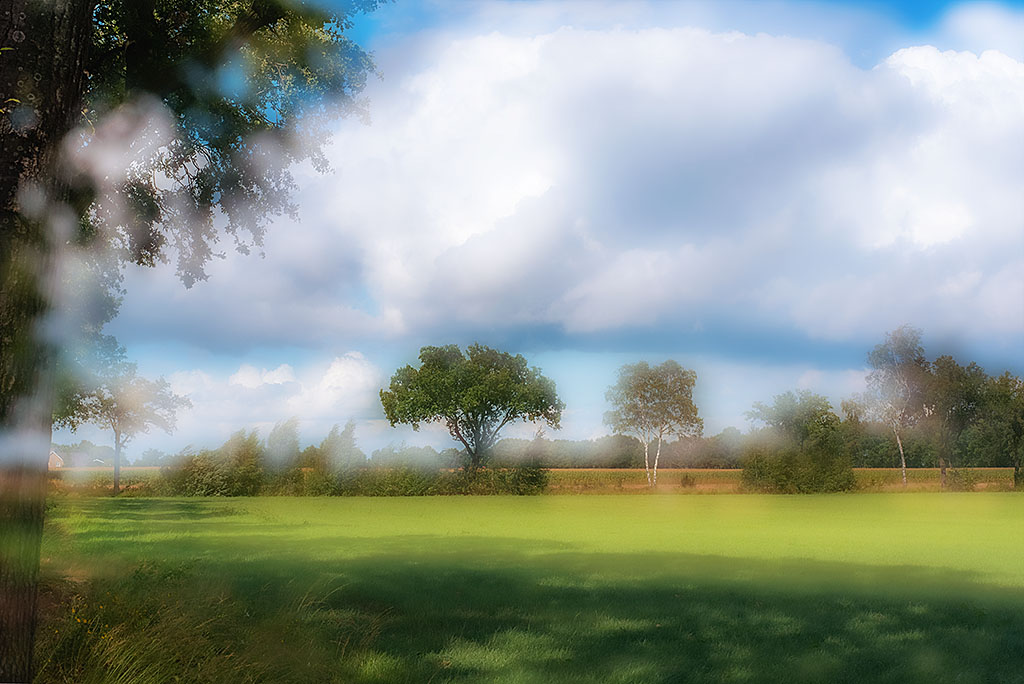
Soft Focus
The most well known use of double exposure is to create a so-called soft focus effect. With this technique, you take two photos (best from a tripod), taking a photo that is fully focused. For the second photo, put your lens on manual focus and pull the focus point slightly towards you so that the out of focus photo becomes “larger” and covers the sharp photo. In this way you create a soft focus effect in a photo.
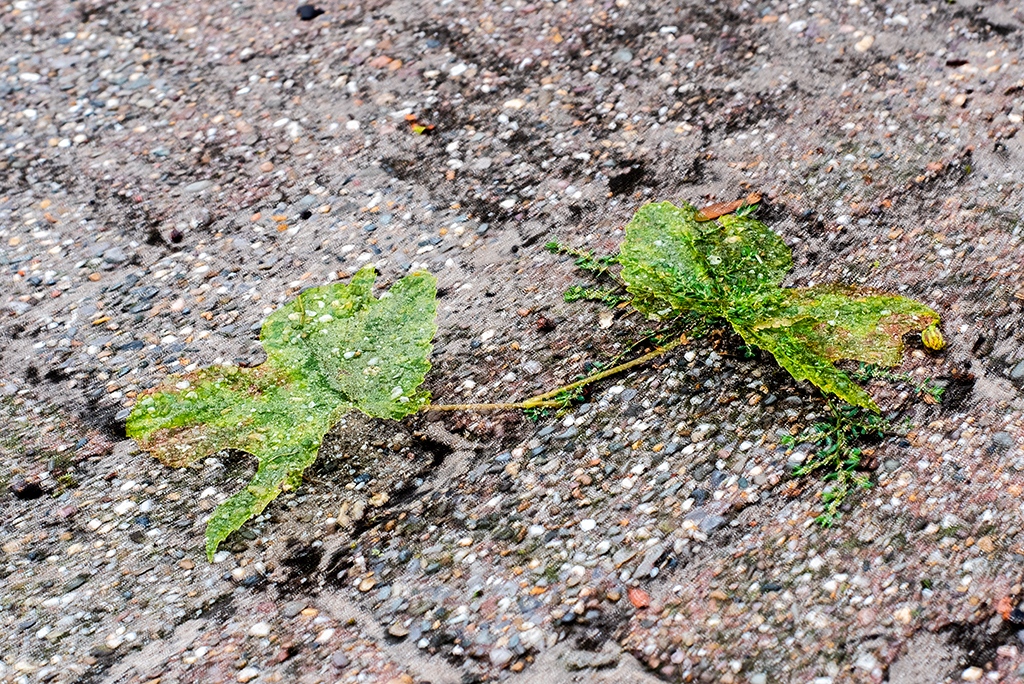
Multiply a subject
Another technique you can use with double exposure is to make an object appear multiple times in a photo. It is important that you think in advance how you are going to do this. When taking your first photo, you should already take into account the second photo where your object will appear in the photo. I took the photo below in this way. The first photo I took was with the grape leaf on the right side of the photo. For the second photo I placed the grape leaf opposite and took another photo. At first glance it seems as if there are two grape leaves, but if you look closely you can see the stone structure of the background very clearly in the grape leaf at the grape leaf on the left of the photo.
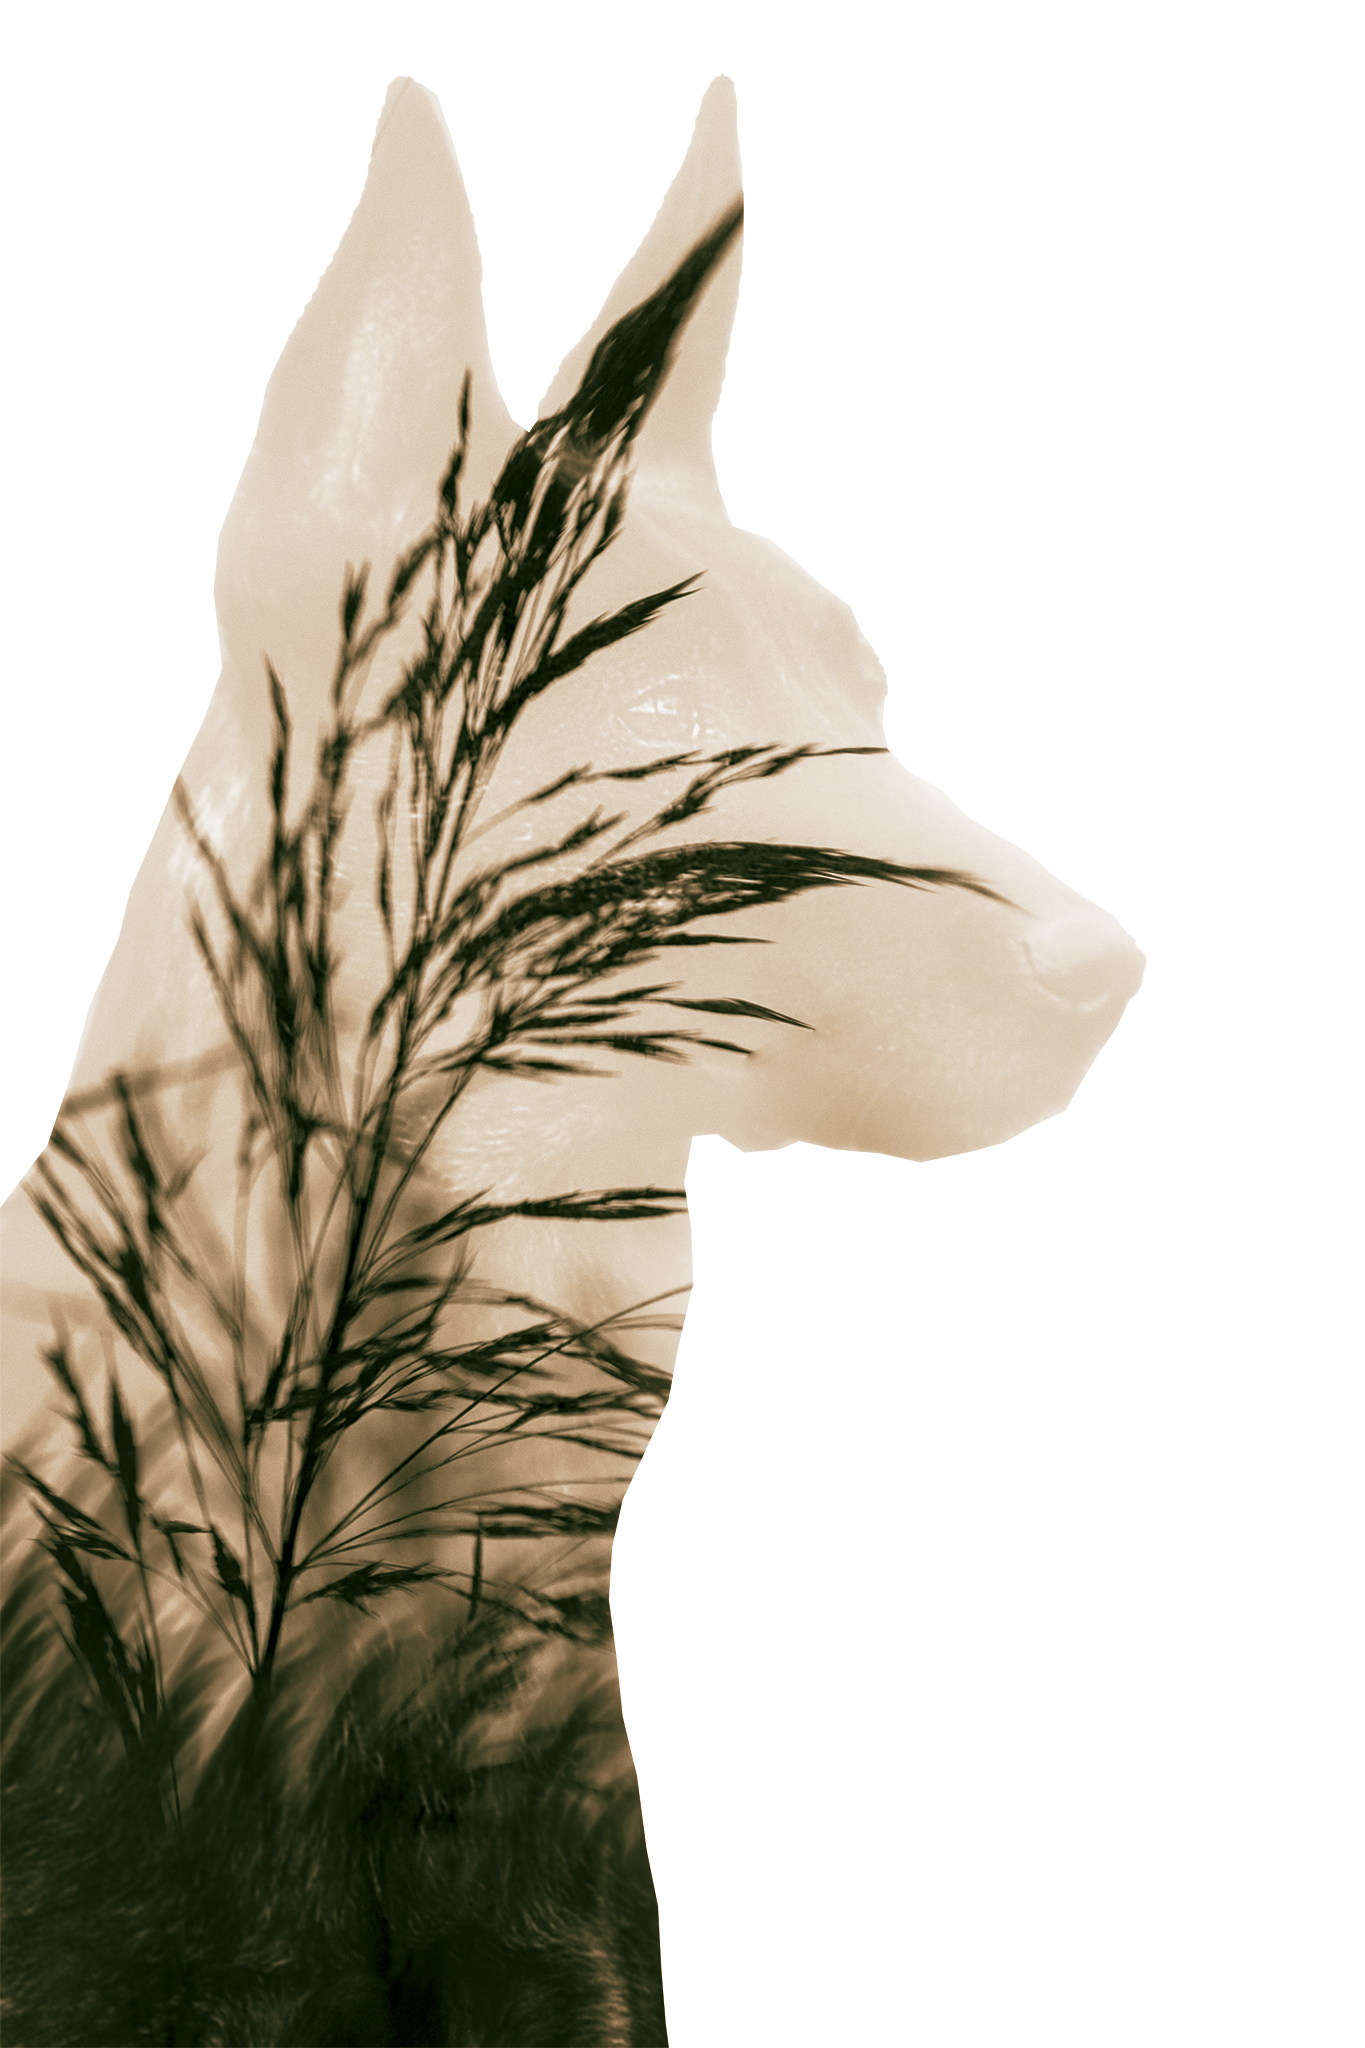
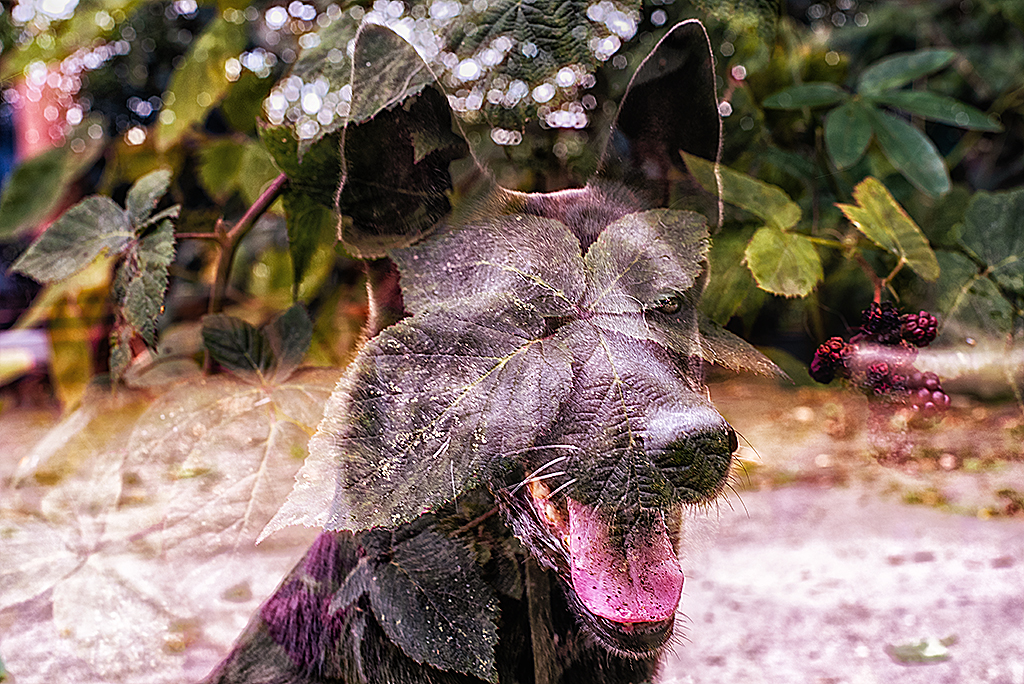
Combine subjects
And another technique is that you will combine subjects that have nothing to do with each other and thus create an image that you have to look at longer before you can see what it is exactly. You can implement this technique indefinitely as long as you take into account how such an image will be constructed. The light parts will therefore dominate the dark parts in a photo.
Simulate Double Exposure in Photoshop
And finally, there is of course still the possibility to simulate a double exposure yourself with the help of photoshop (or another editing program in which you can work with layers). The advantage of this is that you keep total control over the photo it will eventually look like. The disadvantage is that this takes the tension away from what it will look like. The surprise is gone ... but it certainly gives you the double exposure you want. Both options have their advantages and disadvantages. And people who are against Photoshop will claim that it is no longer a 'real photo' this way.