¡Saludos amantes de la comida! | ¡Greetings food lovers!
¡Feliz inicio de semana! Soy amante del yogurt y hace mucho tiempo que tenía ganas de hacer en casa, nunca antes lo había hecho así que me animé a intentarlo por primera vez, por tal motivo el día de hoy les quiero compartir mi receta para preparar yogurt casero, muy fácil y económico debido al tipo de leche que utilicé, el resultado me gustó mucho y solo resta acompañarlo con mermelada de la fruta de nuestra preferencia y podemos disfrutar de esta delicia en casa en poco tiempo, ahora si, a continuación de dejo el procedimiento para la preparación, espero que les guste y les pueda ser útil a la hora de intentarlo.
Happy start of the week! I am a yogurt lover and for a long time I wanted to make it at home, I had never done it before so I decided to try it for the first time, for this reason today I want to share my recipe to prepare homemade yogurt, very easy and economical due to the type of milk I used, I liked the result a lot and it only remains to accompany it with the fruit jam of our choice and we can enjoy this delicacy at home in a short time, now yes, then I leave the procedure for the preparation, I hope you like it and it can be useful when you try it.


Ingredientes | Ingredients
🍶 2 Litros de leche fresca de vaca.
🍶 Yogurt natural sin sabor.
🍶 2 liters of fresh cow's milk.
🍶 Natural yogurt without flavor.

Procedimiento 👩🍳 | Process 👩🍳
🍶 PASO 1. Añadimos la leche en una olla grande, la colocamos en una hornilla a fuego medio, tapamos y dejamos hervir, una vez que la leche haya hervido apagamos el fuego y dejamos que baje la temperatura un poco pero no debemos dejar enfriar por completo, de lo contrario no nos servirá, así que debemos estar pendientes de la temperatura de la leche y la adecuada para utilizarse la podemos comprobar introduciendo un dedo y dejarlo por 10 segundo, si está caliente pero soportable y llegamos a los 10 segundos es la temperatura que buscamos.
🍶 STEP 1. We add the milk to a large pot, place it on a burner over medium heat, cover and let it boil, once the milk has boiled we turn off the heat and let the temperature drop a little but not we must let it cool completely, otherwise it won't help us, so we must be aware of the temperature of the milk and the right one to be used we can check it by inserting a finger and leave it for 10 seconds, if it is hot but bearable and we reach the 10 seconds is the temperature we are looking for.


🍶 PASO 2. Luego de obtener la temperatura deseada en la leche añadimos el yogurt a la olla, mezclamos bien para incorporarlo por completo y tapamos la olla.
🍶 STEP 2. After obtaining the desired temperature in the milk, we add the yogurt to the pot, mix well to incorporate it completely and cover the pot.


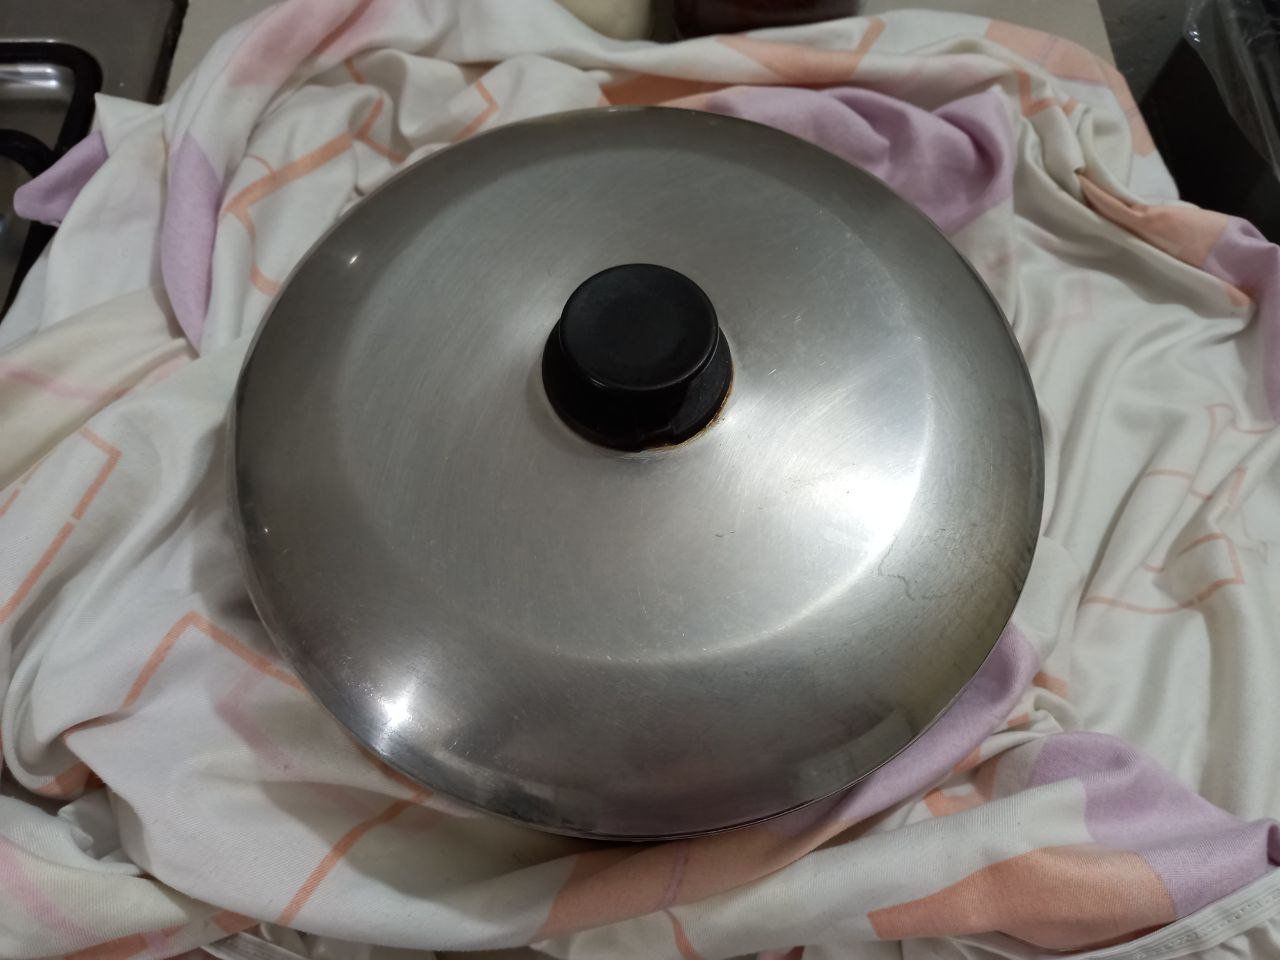
🍶 PASO 3. Cubrimos la olla con una sábana o paño grueso, luego la colocamos dentro de una bolsa plástica y sellamos bien para que quede cerrado de la manera más hermética posible, luego llevamos a un lugar oscuro y cálido donde debemos dejar reposar por aproximadamente 12 o 14 horas, en mi caso yo utilicé el horno de mi cocina.
🍶 STEP 3. We cover the pot with a sheet or thick cloth, then we place it inside a plastic bag and seal it well so that it is closed as tightly as possible, then we take it to a dark and warm place where we must let stand for approximately 12 or 14 hours, in my case I used the oven in my kitchen.


🍶 PASO 4. Al cabo de 12 o 14 horas sacamos la olla del horno y le retiramos la bolsa plástica y la sabana o paño, destapamos y ya el yogurt debe estar listo,
🍶 STEP 4. After 12 or 14 hours we take the pot out of the oven and remove the plastic bag and the sheet or cloth, uncover and the yogurt should be ready,

¡Y listo! De esta manera tan sencilla, con solo 2 ingredientes y siguiendo estos 4 simples pasos tendremos un increíble yogurt casero, ideal para acompañar con mermelada de frutas para nuestras meriendas o tardes de antojos, espero que les haya gustado este post y les pueda servir de guía a la hora de intentarlo en casa, lo cual espero que puedan hacer, nos vemos en un siguiente post.
¡And ready! In this simple way, with only 2 ingredients and following these 4 simple steps we will have an incredible homemade yogurt, ideal to accompany with fruit jam for our afternoon snacks or cravings, I hope you liked this post and it can serve as a guide when it comes to trying it at home, which I hope you can do, see you in a next post.
Resultado 🍶 | Result 🍶


Todas las fotografías son de mi propiedad.
Fotografías capturadas con mi Samsung Galaxy A12
Separador de texto elaborado en Canva.
Nos vemos en mi próxima publicación.
¡Tengan un feliz día!
All photographs are my property.
Photos captured with my Samsung Galaxy A12
Text separator made in Canva.
See you in my next post.
¡Have a happy day!